Find recipes for…


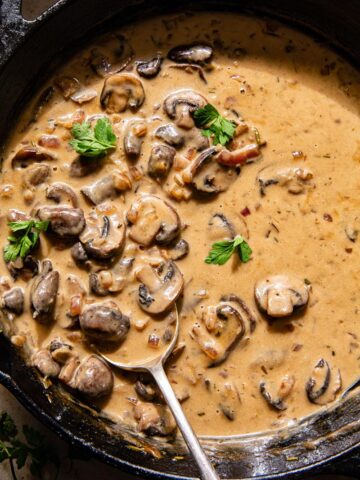
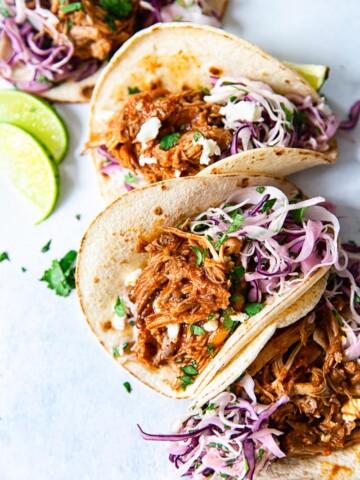
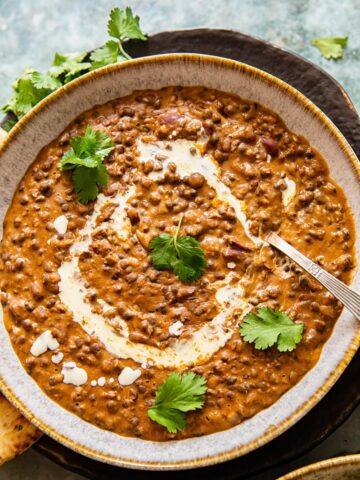
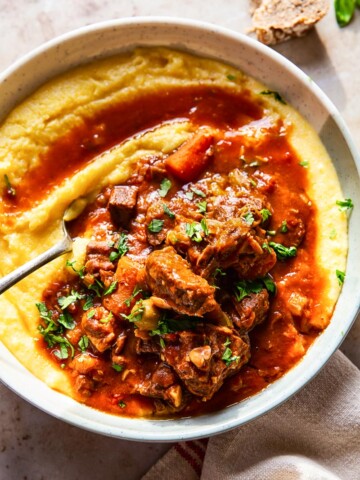
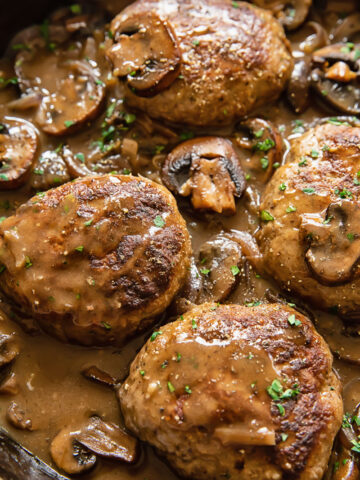
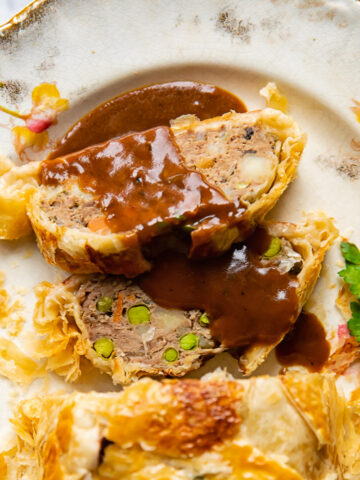
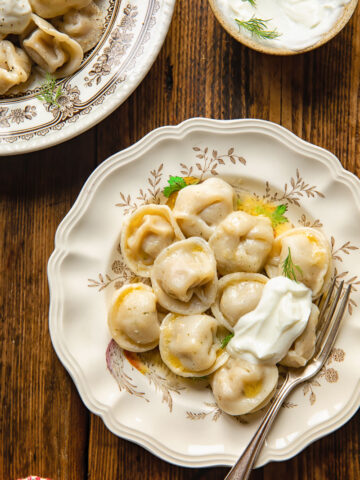
Most Popular
The recipes most loved by our readers – tried, tested and approved!

About Me
Julia Frey is a London based recipe developer and photographer. Julia founded Vikalinka in 2012 with the main mission to provide her readers with delicious and accessible everyday recipes, which could be enjoyed by everyone.
Never miss a recipe!
Get weekly recipes delivered to your inbox:
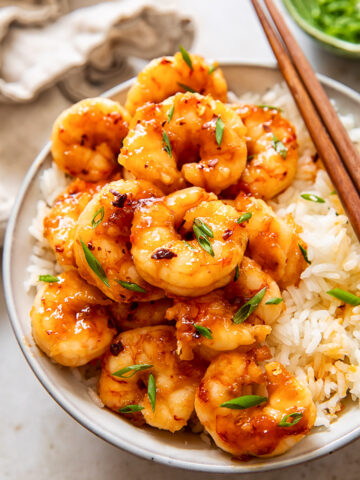
Quick and Easy
Quick mid-week dinners that can be cooked in 30 minutes or less.

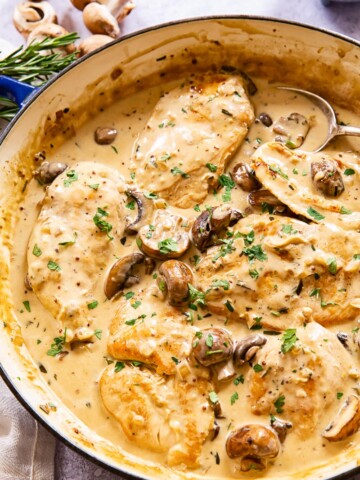
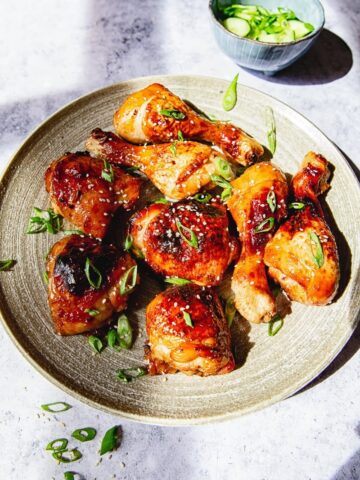
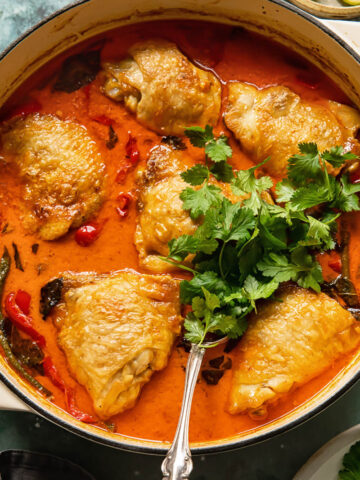
Chicken recipes
Inspiration for cooking chicken!


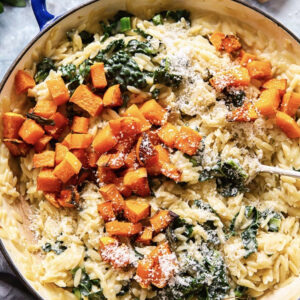
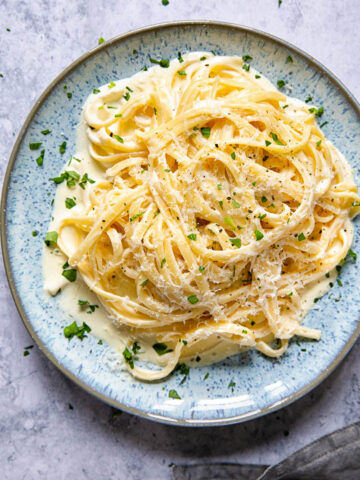
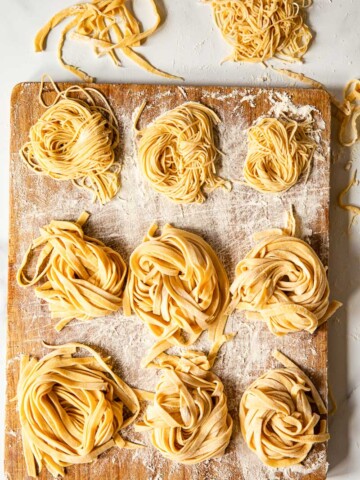
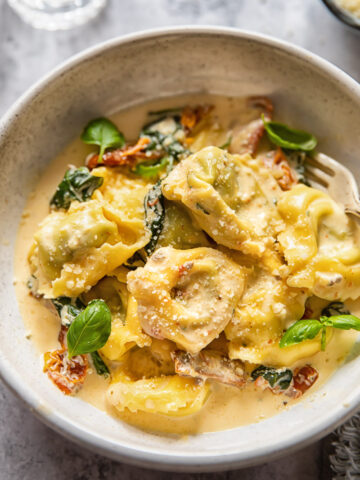
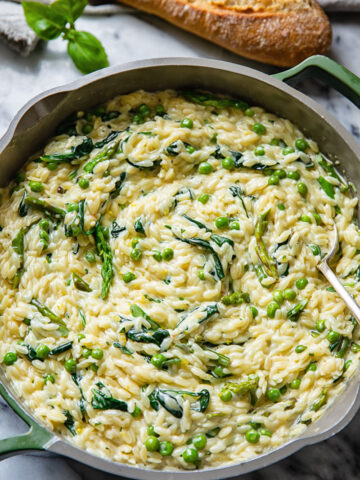
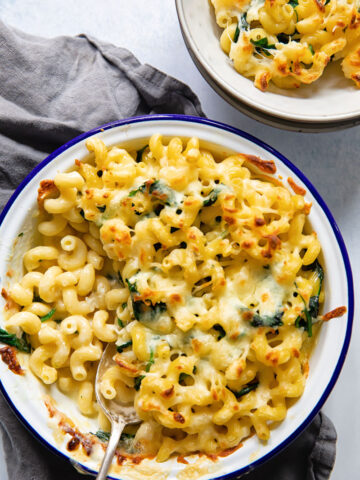
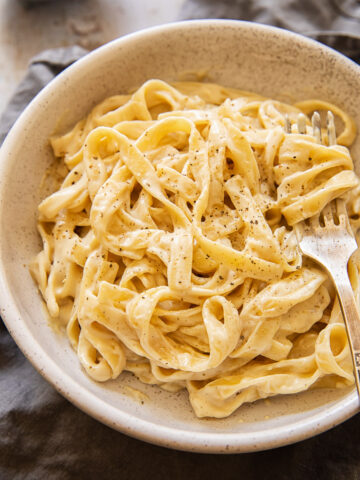
Pasta
A selection of satisfying pasta recipes, including Italian classics and new creations.

Slow Cooker and Instant Pot
Recipes made in your slow cooker or Instant Pot. Delicious and easy meal options that save you time!

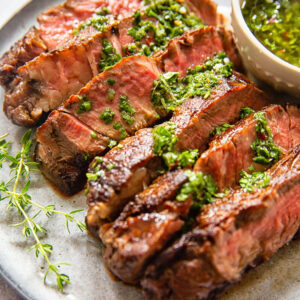
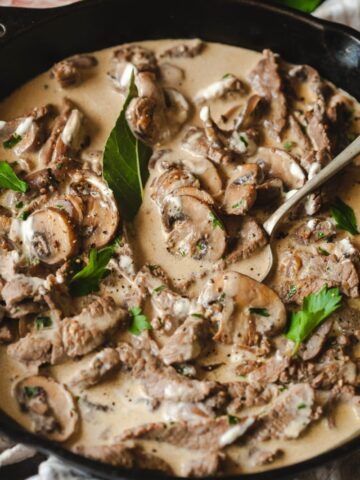
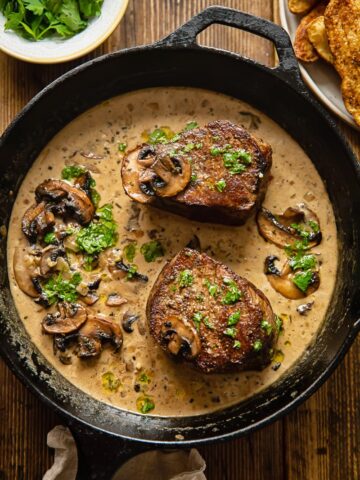
Beef
Stews, soups and special occasion dishes like Rib Eye Steak – find your next favourite beef recipe. Always satisfying, and oh so delicious!
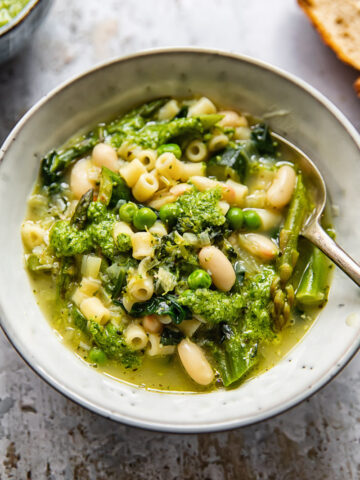
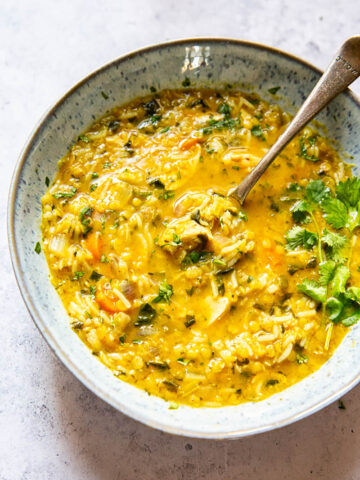
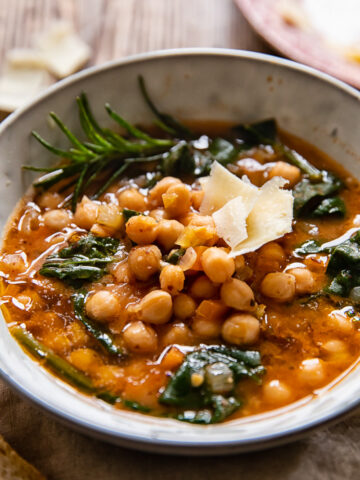
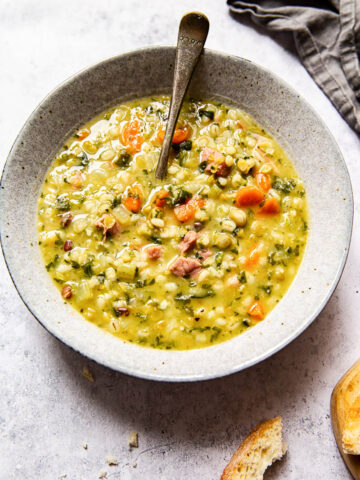
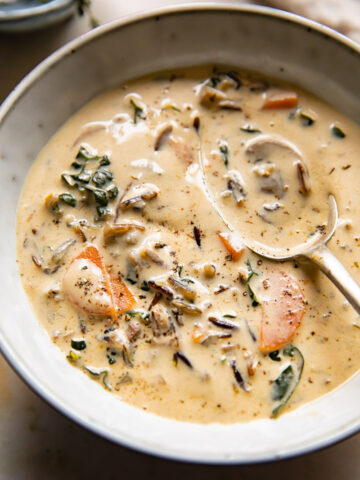
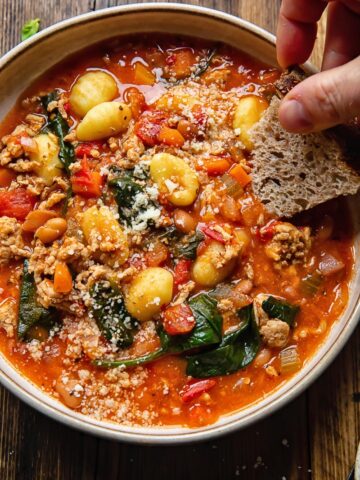
Soup
Warm and satisfying soup recipes including clear broths and blended cream based soups.
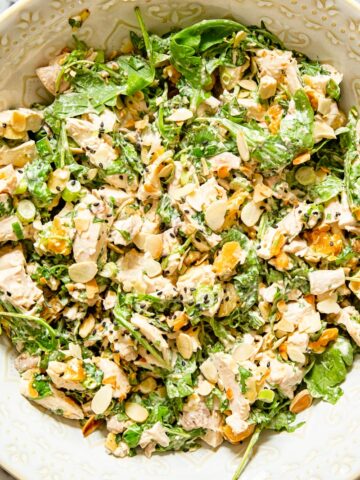
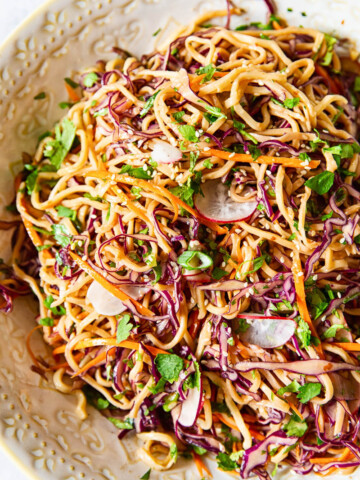
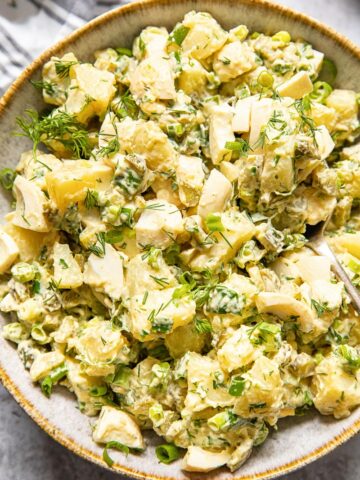
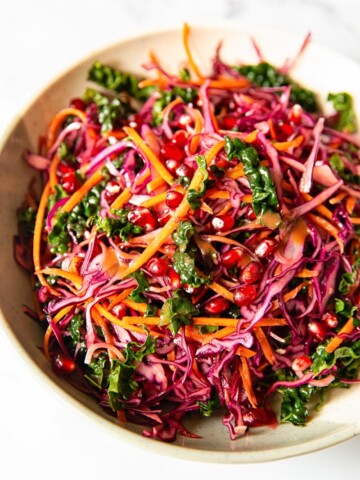
Salad
Cold and warm salads for every season and taste.
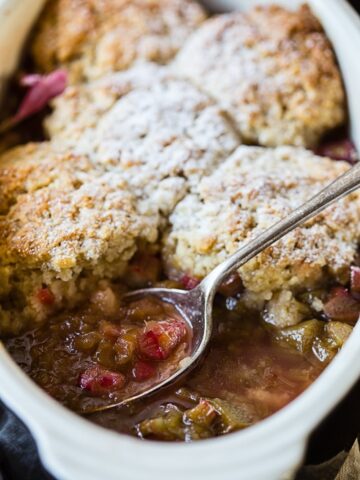
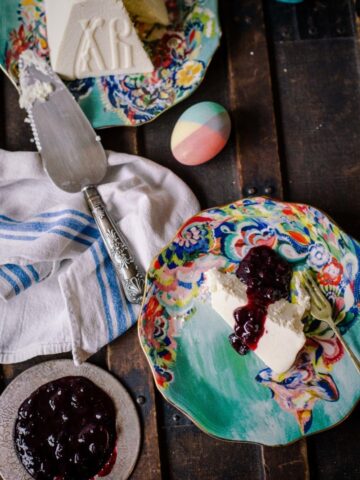
Dessert
A wide variety of dessert recipes that are suitable to a range of home cooks. From a beginner bake to an advanced level show stopper you can find it all here.