Grab a white coat and clipboard, this is a science masterclass in breadmaking. All breadmaking requires precision and discipline and this recipe for focaccia bread is no different. Ready to test your skills? Follow the method exactly and the results will yield a broad and bouncy loaf smacking of Mediterranean flavour.
And if you are lucky enough to have leftovers once you are done eating it, make this epic Focaccia Sandwich.
What is focaccia bread?
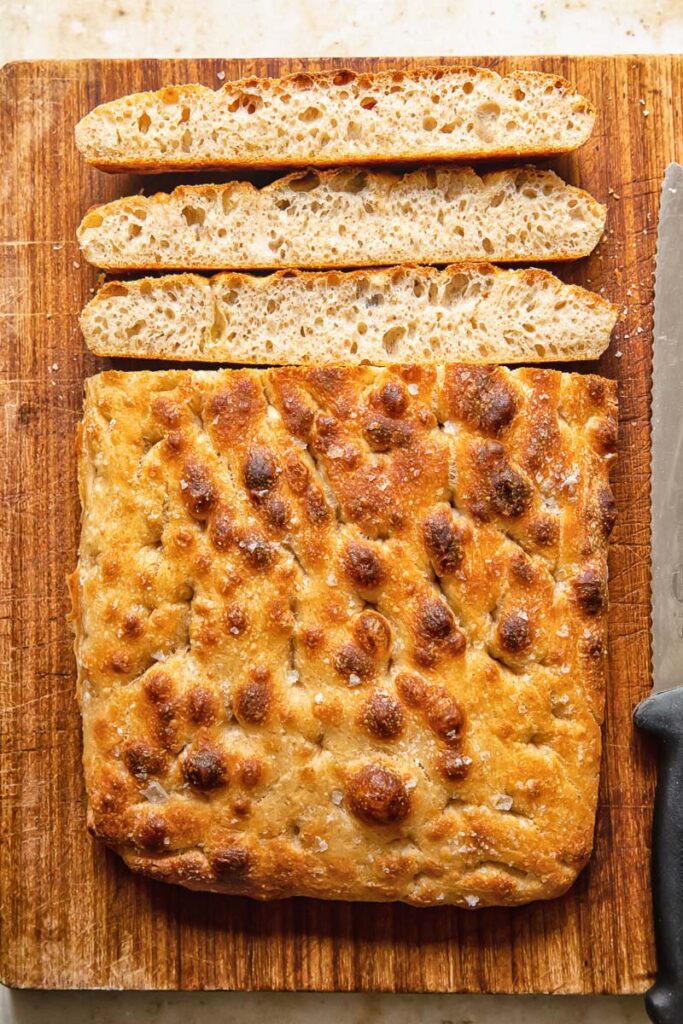
It’s truly a bread like no other. It’s instantly recognisable by its a flat, round or rectangular shape. Dimpled and studded with herbs, olives or garlic, or often heavily laden with roasted tomatoes, cheese and pesto. But that is not all.
What sets it apart in the bread world is its unmistakeable texture and flavour. It is made with lashings of olive oil- first added to the dough, then a slick applied to line the baking pan, and finally a liberal dousing over the dough itself before it goes in the oven.
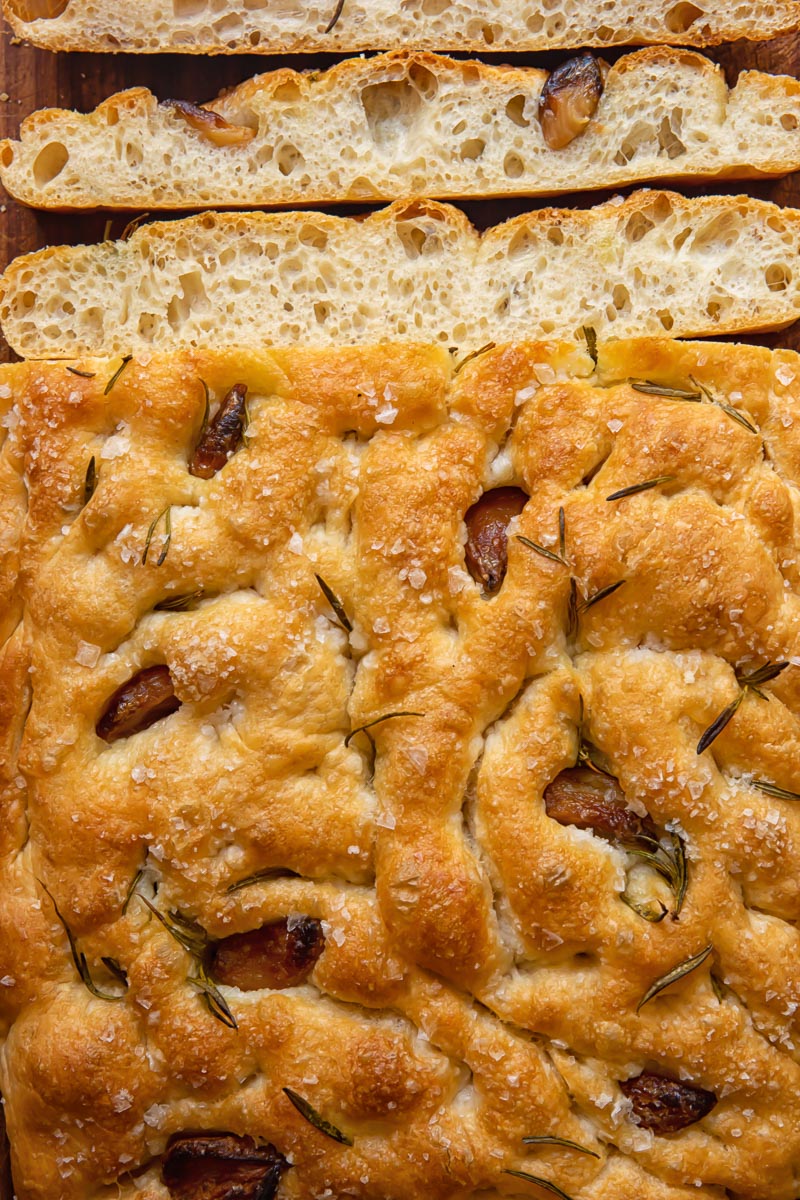
The generous application of oil ensures a thin crust that is crisp, almost fried, and a springy, fluffy centre that is light and fragrant.
Simple No Knead Method
Let’s be real. Kneading is hard work! And it is fraught with potential errors. So, I’ve traded in the aching biceps and risk of dense dough for a No Knead Method.
By using this hands-off, knuckle-protecting approach you can be sure your focaccia bread will be light, bubbly and just the right side of chewy.
So how does it work? It’s very simple. Combine the ingredients to make the dough and let the refrigerator do the work. The cold of the fridge will kickstart the fermentation process for you.
Here’s the (kind of) sciencey bit: while in the fridge, bubbles will start to form in the dough. The longer you leave the dough, the bubblier and tastier it will be. For maximum flavour, leave it for up to 3 days.
Flavour variations
There are 4 elements to explore here: simple, extravagant, sweet or savoury.
If you want to keep it simple because you’re planning to use the bread for focaccia sandwiches, I suggest choosing a combination of two flavour toppings.
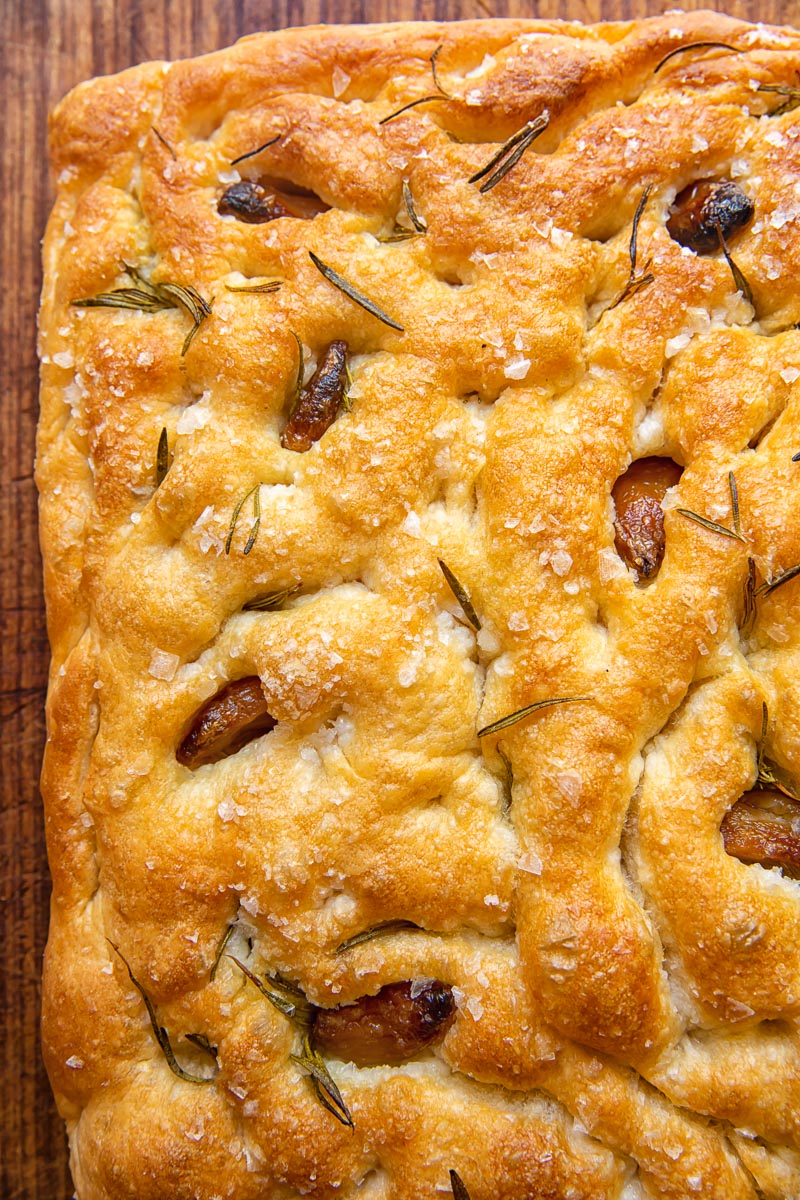
For example, this garlic confit and rosemary focaccia recipe. These are simple ingredients with knockout impact. Or for something less assaulting: sun-dried tomato and black olive.
For a slab of focaccia as a hearty snack, I choose a few more substantial ingredients, a bit like pizza toppings. I like courgette, ricotta and basil, or sun-dried tomato pesto, prosciutto and parmesan.
For a sweet breakfast treat, or an indulgent alternative to dessert or cake, try fig, ricotta and honey, or burnt orange, hazelnuts and feta. The contrast of sweetness and flakey salt is a taste explosion. In a good way!
Finally for a true Italian experience bite your focaccia with the salted side down, so the salt hits the tongue first. Try it. It’s sublime!
Recipe tips and notes
- Kitchen scales are so useful and inexpensive. I highly recommend keeping a set!
- For bread making, I prefer to use kitchen scales and their measurements. Measuring cups do not offer the same level of precision, which is vital when dealing with an exact science.
- What is ‘strong’ flour anyway?? Good question! ‘Strength’ refers to the gluten content. Gluten is what is responsible for the magic moment of dough rising in the oven.
- If you’ve made bread before, you’ll know that basically a bread dough recipe is flour, water, yeast and salt. Or a sourdough starter. But focaccia is made with glug upon glug of olive oil giving the bread a pillow-soft texture and dreamy rich flavour.
- Yes, it’s a lot of oil! If you can’t give yourself over entirely to the extravagance, perhaps a pared back sourdough is a better place for you to begin your breadmaking experiments. My sourdough recipe for beginners results in a loaf that is just as satisfying but contains no oil. Or if like both, make my sourdough focaccia bread!
- Based on a ‘No Knead’ principle (Jim Lahey’s), this focaccia recipe is so simple any anxious baker could pull it off. Instead of the traditional kneading to develop the gluten, the dough is allowed a long fermentation process- between 16 and 72 hours! The process must take place in a cold environment, i.e., the fridge.
- Here is the very scientific equation: a colder environment= a slower fermentation process= a stronger flavour.
- If you’re more of an ‘on a whim’ baker, 2 hours is the bare minimum for fermentation. The loaf will still be good, but don’t expect any ‘eureka’ moments. Another very scientific equation: longer fermentation= more delicious bread.
- Olive oil and salt are the key ingredients to a traditional focaccia, but it is wide open for flavour experiments. Mine is with rosemary and confit garlic, but I also love a cherry tomato and pesto topping.
- Flaked salt is infinitely better for focaccia than table salt. Catching a crystal in a mouthful is a welcome spark of salt.
Storage and leftovers
Air is bread’s worst enemy. To prevent your springy focaccia bread from going stale and hardening, try to wrap, contain, cover it with as little air inside as possible.
Cling film, or plastic wrap, is the most effective. Wrap your bread tightly, in one piece if possible, and store at room temperature for up to two days.
Take the same air lock approach to freezing. Here it’s a good idea to portion up the focaccia though, before freezing individual hunks. It should be good for up to about a month.
To thaw, leave the wrapped bread out at room temperature for an hour or so.
You can breathe a bit of life back into the loaf by warming it through in the oven for 6-8 minutes at 180C/ 355F. And it is sooooo good warm.
Favourite Bread Recipes to Try:
- Walnut and Raisin Sourdough Bread
- Easy Flatbread Recipe
- Rye Bread Recipe
- Dutch Oven Bread (Ready in 2 hours)
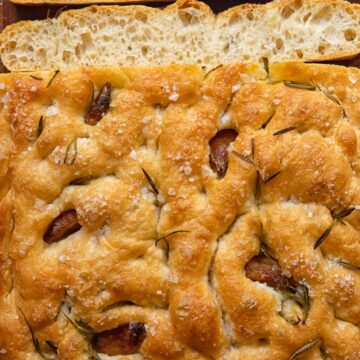
No Knead Focaccia Bread
Ingredients
- 500g/4 cups bread flour
- 375 ml/ 1 ⅔ cup warm water
- 7g/1 tbsp active dry yeast
- 10g/1/2 tbsp salt
- 1 sprig rosemary leaves only
- 1 pinch flaky sea salt such as Maldon sea salt
- 6-7 garlic confit optional
Instructions
- In a large bowl combine the flour and salt. In a separate bowl combine the water and yeast and let the yeast dissolve, which will take about 5 minutes.
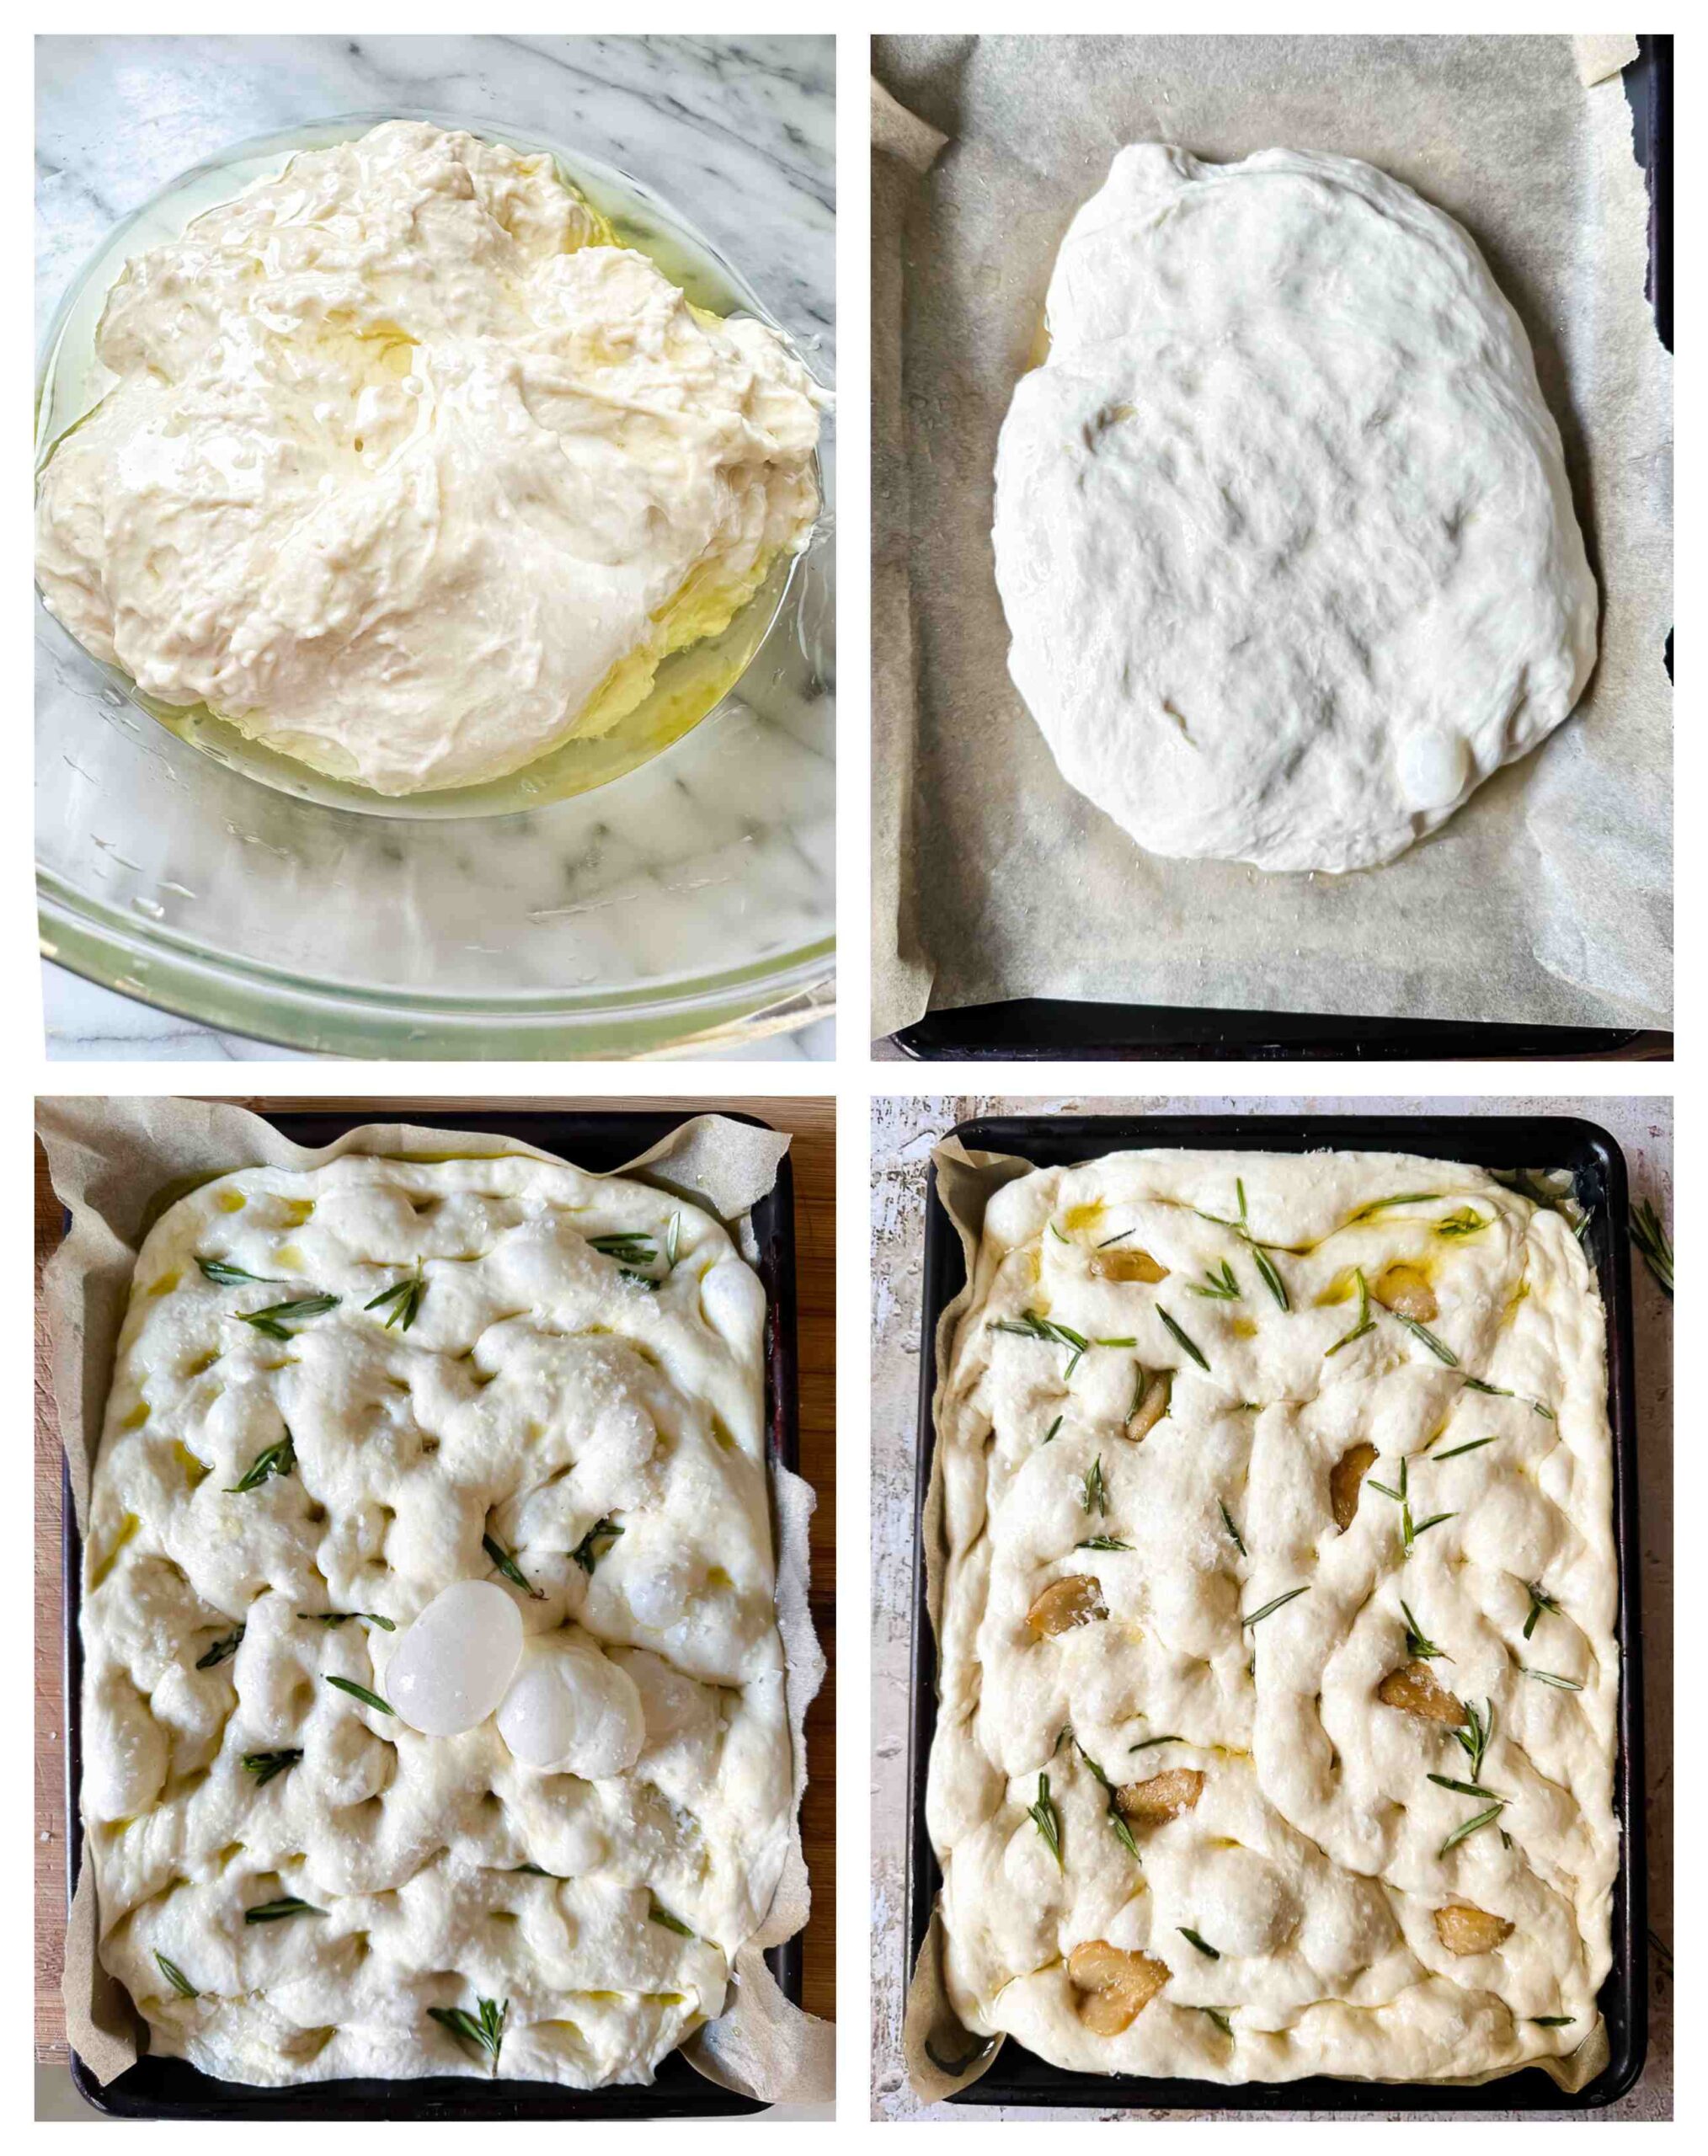
- Add the yeasted water to the the flour and mix with your hands or in a stand mixer using a dough hook until you have a rough dough bowl. You don’t have to knead it. Drizzle the dough with 1 tbsp of olive oil, then flip it over, so the entire surface is covered with the oil. Cover with plastic wrap and refrigerate for at least 12 hours. The dough could be kept in the fridge for up to 3 days. The longer you wait, the stronger flavour will develop.
- When you are ready to bake, take the dough out of the fridge and deflate it by running your fingers along the edges of the bowl to detach it from the bowl.
- Line a 9 inch by 13 inch pan with parchment paper, then add a couple of tablespoons of olive oil to the bottom and spread it around with your fingers. Add the dough to the pan and flatten it forming a rough rectangle. It won’t spread all the way to the edges of the pan at this point. Make sure the entire surface is covered with olive oil, use your hands to spread it around. Allow the dough to rise for 2.5 -5 hours depending on the temperature of your house. It could take as little as 2 hours on a hot summer day and as long as 5 on a cold winter day. Pay attention to your dough, it should be rounded and bubbly.
- When the dough is 30 minutes before it’s ready to be baked. Preheat the oven to 225C/450F.
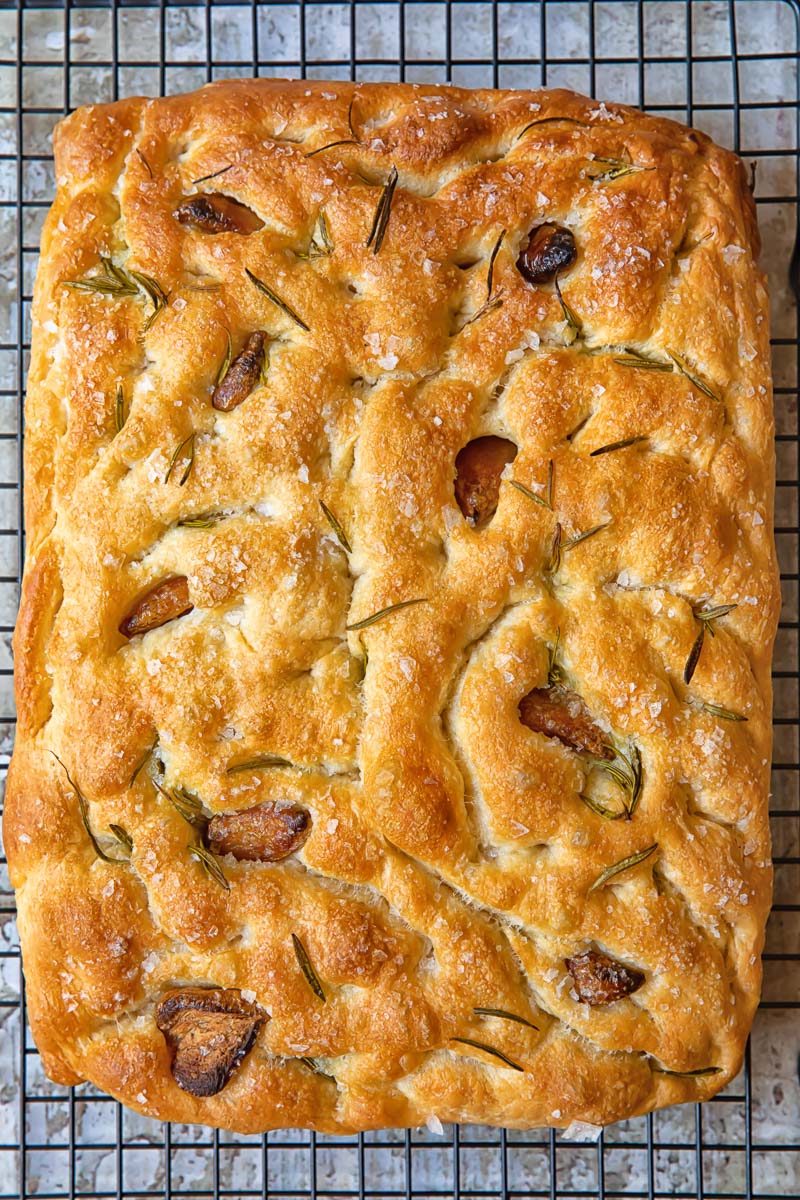
- Sprinkle another tablespoon of olive oil on the surface of the dough and scatter rosemary leaves all over. (You can also add garlic confit or tomatoes). With your fingers star pressing down on the dough forming deep dimples all over. You can stretch the corners slightly to fit the pan. Finally liberally sprinkle with flaked sea salt and bake immediately for 25 minutes until the bread is golden brown. Take out of the pan as soon as the focaccia is done and cool on a wire rack to prevent the bottom from going soggy.



Leave a Reply