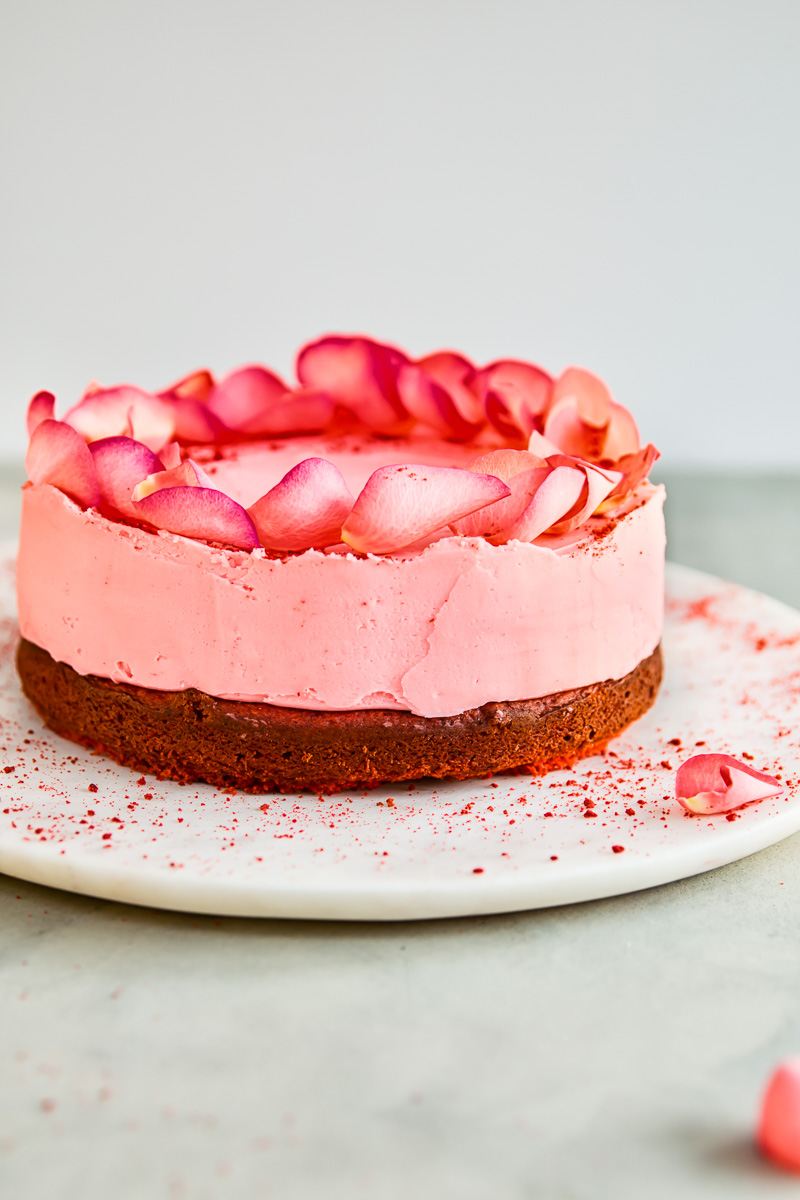
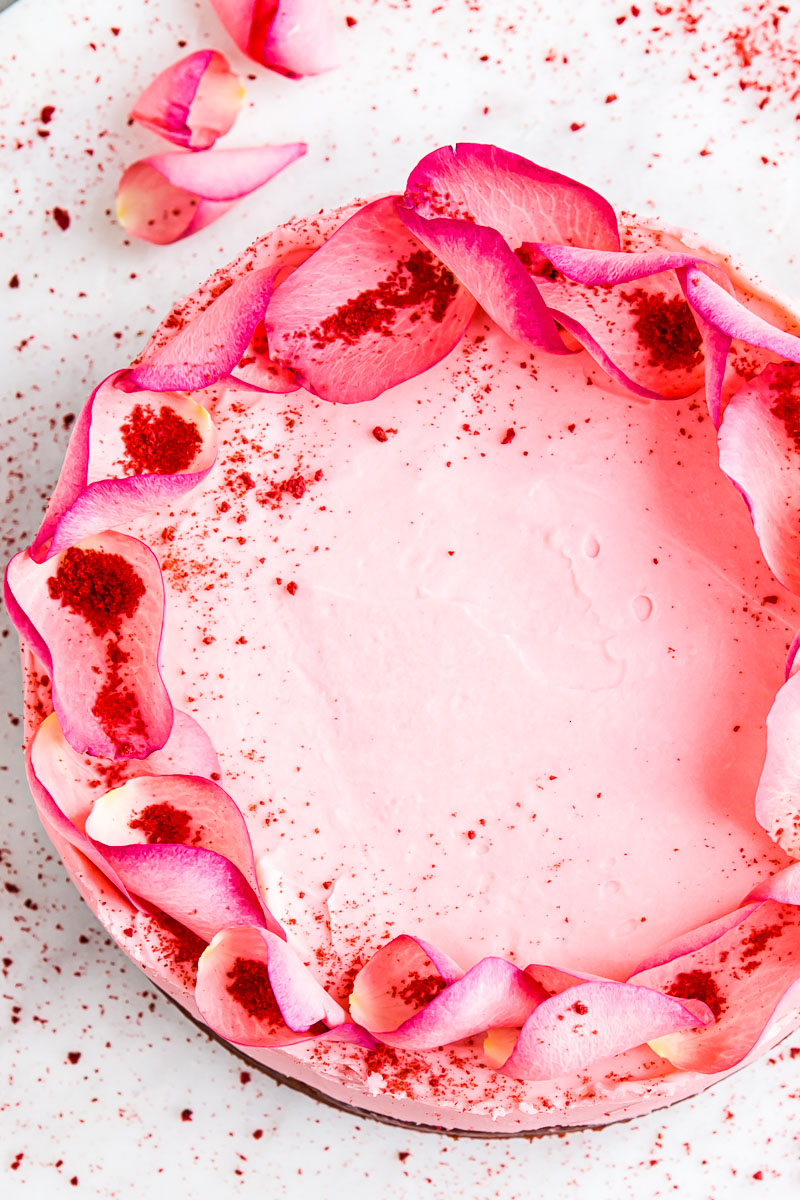
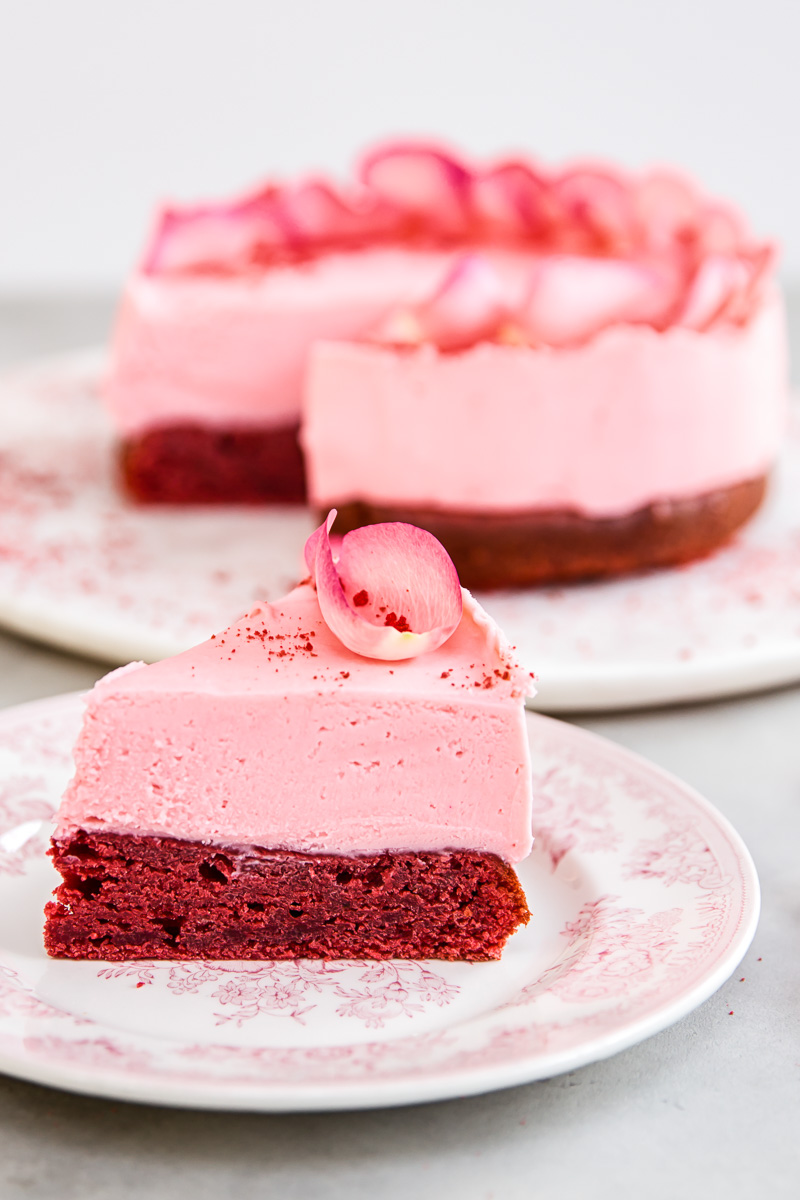
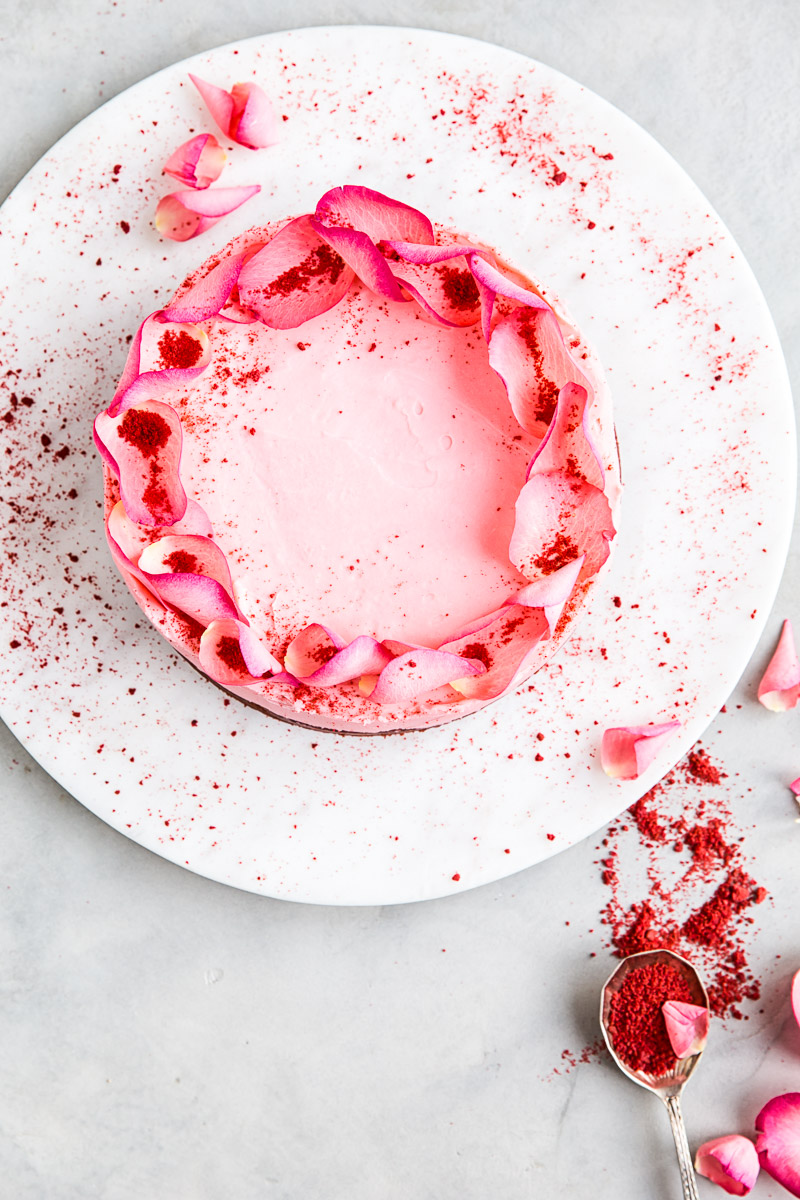
This February wow your Valentine with this stunning Red Velvet Truffle Cake! Red velvet cake is topped with white chocolate truffle layer tinted pink. Such gorgeous colours and taste for a very special occasion.
Add a delicious cocktail to you celebratory dinner. Our Blackberry Peach Daiquiri looks as beautiful as it tastes!
Cooking is my love language and there is nothing that brings me more joy than treating my loved ones to a stunning dinner. Valentine’s Day is no exception.
I usually start planning special recipes like this Salmon en Croute far ahead of February 14th. Partly because I am a food blogger and it is my job to be prepared. But also because I am so excited to share a beautiful meal with my soulmate at home.
Another favourite to cook for this holiday is a luxurious pasta dish like our Creamy Tagliatelle with Bacon, Mushrooms and Truffle Oil. Perfect dinner for two.
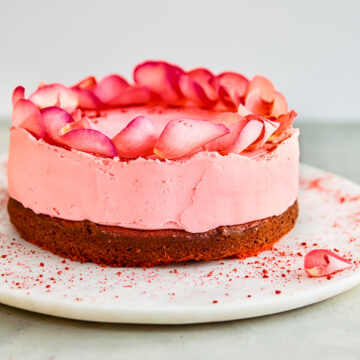
But let’s not forget dessert! And what could be more romantic than a Red Velvet Cake? I would say a red velvet cake topped with a layer of pink chocolate truffle and decorated with rose petals.
It looks impressive but very easy to make. And to demonstrate it I also made a video for you to follow along while you bake!
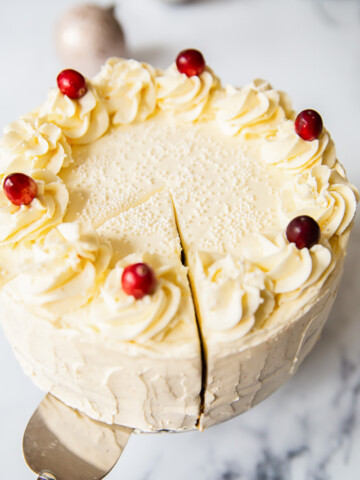
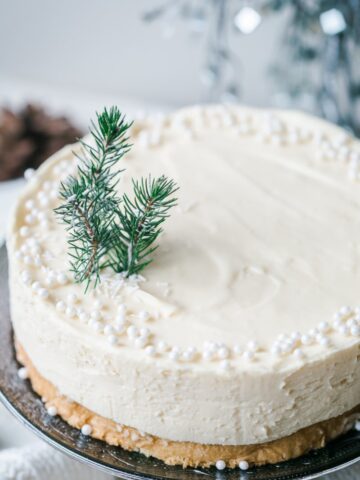
This cake is my take on another insanely popular cake on my blog White Christmas Truffle Cake.
I swapped out the white sponge for a rich red velvet cake base. Then I coloured the white chocolate and mascarpone truffle layer blush pink to make it ever so romantic. And voila Be My Valentine Red Velvet Truffle Cakes was born!
Recipe Tips
- Make this cake at least one day ahead. It needs time to set.
- Make sure the red velvet cake layer is room temperature and not warm in the slightest before adding the truffle layer on top.
- Use mascarpone and heavy whipping cream straight from the fridge. Warm or room temperature products might cause the truffle layer to split.
- Measure white chocolate by weight and not volume. Accurate measurements are necessary for the truffle layer to set.
- Use heavy cream with at least 36% fat content or higher. Double cream in the UK is 48% and is ideal for this recipe.
- Finally use real white chocolate and not white chocolate chips.
This recipe make a small Red Velvet Cake, which is absolutely perfect for your Valentine’s day dinner. A delicious treat and tasty leftovers for the following day!
I made this video in collaboration with my best friend Lucy Parissi, who happens to be a brilliant blogger behind Supergolden Bakes.
Lucy and I made two cakes using the same recipe for the red velvet layer. However we ended up with very different cakes! Check out her Red Velvet Layer Cake with Vanilla and Strawberry Frosting. It’s a stunner!
I am so pleased to provide a video for this cake as the truffle layer could be a bit tricky as some of my readers pointed out after making the White Christmas Truffle Cake.
Hopefully seeing the texture and consistency in the video will make it a breeze to make!
Happy Valentine’s Day, lovers!
Valentine’s Day Recipe Inspiration:
- Frozen Blood Orange Pina Colada
- Chocolate Cake Truffles
- Honey Cake Medovik
- Raspberry Cheesecake Bars
This recipe was originally published in 02/2018. Updated and republished in 02/2021.
Be My Valentine Red Velvet Truffle Cake
Ingredients
For the red velvet cake layer
- 140 g/1 cup all purpose flour
- 1 tbsp cocoa powder
- 120 g/1/2 cup buttermilk
- 1-2 g/1/4 tsp paste red food colouring not gel
- 60 g/1/4 cup unsalted butter softened
- 160 g/3/4 cup caster/superfine sugar
- ¼ tsp salt
- 1 ½ tsp vanilla
- 1 egg large
- 1 tsp white vinegar
- ½ tsp baking soda
For the truffle layer
- 300 g/1 ¼ cup double cream/heavy cream highest fat content you can find (I used 48% fat double cream)
- 350 g/ 12 oz white chocolate chopped, not chocolate chips (measured by weight)
- 250 g/9 oz mascarpone full fat only
- 1-2 drops adjust the amount depending on the strength pink colouring
- organic rose petals for decoration
- red velvet cake crumbs for decoration
Instructions
For the red velvet cake layer
- Preheat the oven to 180C/350F. Prepare an 8 inch springform pan by greasing it with butter, then cut out a circle to fit the pan out of parchment paper and line the bottom of the pan with it.
- In a medium bowl sift together flour and cocoa powder.
- In the bowl of a stand mixer cream butter and sugar until pale and fluffy. Mix egg and vanilla in a small bowl, then gradually add the mixture to the butter and sugar with the motor of the stand mixer still running. If the mixture separates, add a tablespoon from the flour and cocoa mix.
- Mix the red food colouring with 2 tbsp of buttermilk until completely dissolved, then add it to the rest of the buttermilk and mix well.
- Starting and ending with the flour mixture, alternate adding the flour and cocoa and buttermilk to the butter, sugar and egg mix. Stop the mixer once in a while to scrape the bottom with a spatula, continue mixing until your cake batter looks like a light, evenly blended frosting.
- Mix the vinegar and baking soda together in a small bowl, it should froth up, then add it to the cake and mix well.
- Pour the batter into the prepared springform cake pan and bake for 25 minutes or until a toothpick inserted in a cake comes out clean. Cool in the pan for 10 minutes, then remove from the pan and cool on a wire rack completely.
- Cut off the domed top of the cake with a sharp knife if the cake didn't come out perfectly flat and reserve it for making crumbs for decoration.
For the truffle layer
- Bring the cream in a saucepan to a boil, then immediate pour over chopped white chocolate, let it sit for 1 minute, then stir until the chocolate is completely melted into the cream, add the food colouring and cool until room temperature.
- In a medium bowl combine mascarpone and chocolate cream mixture, whip with a hand mixer until the truffle layer is thick and holds its shape when mounted on a spoon. (Watch video for the right consistency).
To assemble the cake
- Line the sides of the same springform pan with parchment paper all around and put the cooled red velvet cake back in the pan. (If the cake slightly shrunk during baking and doesn't fill the cake pan entirely, insert a folded layer of paper tower between the walls of the pan and the parchment paper lining to ensure the cake fits in snugly. This will prevent the truffle layer from seeping through.)
- Pour the truffle layer over the cake layer and smooth the top with a spatula. Cover the pan with a cling wrap and refrigerate for at least 3 hours.
- After the truffle layer is set, remove the sides of the springform pan and pull the parchment paper off in one smooth movement. Smooth the sides of the truffle with an offset spatula for a clean look.
- Decorate the cake with organic rose petals and red velvet crumbs if desired.


