This post contains affiliate links. When you purchase through our links, we may earn a commission.
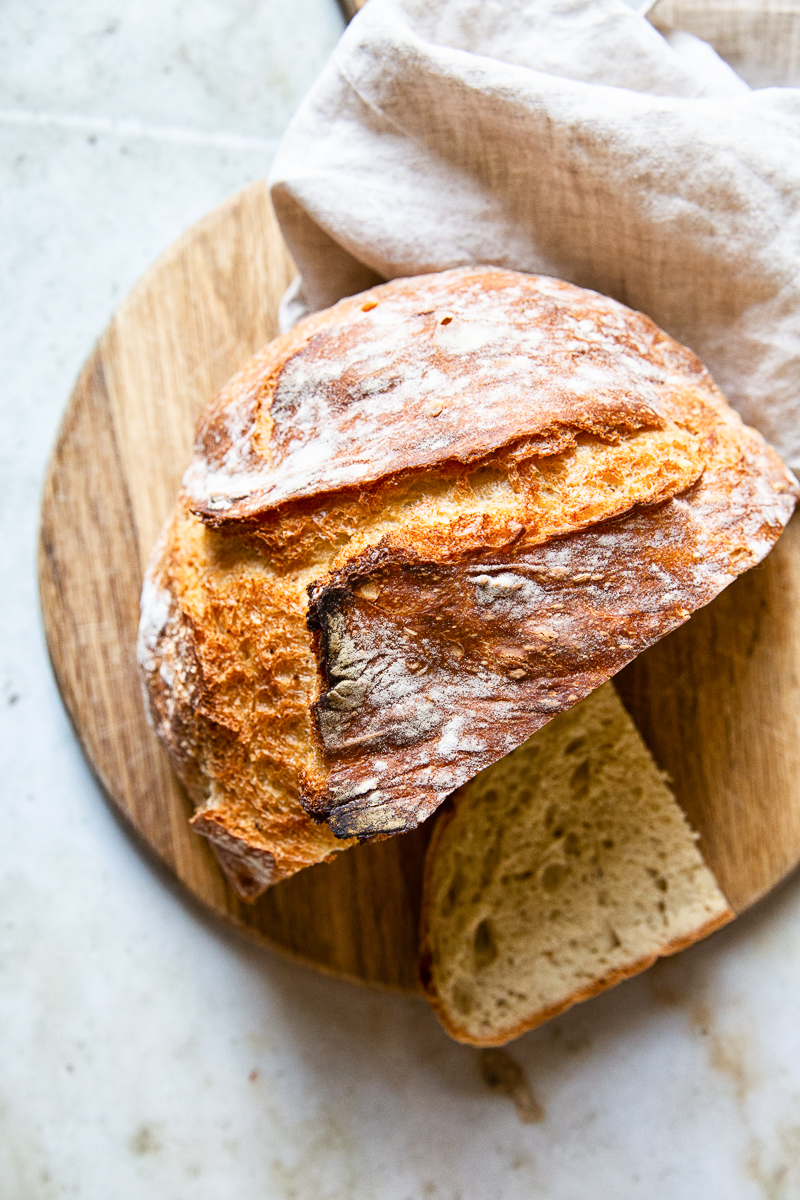
Believe the hype about Dutch oven bread! It is real and it’s easy. Just mix flour, yeast and water and let the magic happen. No kneading, no hard work!
For another easy bread recipe, check out my No Knead Farmhouse Bread.
It’s a well known truth that nothing warms up a house as much as the smell of fresh bread. It is the perfect antidote to a miserable day or a rough week.
It’s a shame that bread had a reputation for not being worth the effort. Anyone who has bitten into a warm, home fresh loaf knows that’s not true. Fortunately we have recipes like this to make it amazingly easy!
I’m fond of this recipe not only because I like the bread it makes but because it was my gateway into bread making. It convinced me that the time to make a loaf was time well spent. I’ve now explored many other bread recipes over the years.
I gave it a try because I wanted bakery fresh bread without having to leave my house. The kind of loaf that springs back when you gently push on it instead of collapsing, with chewy crust and loads of flavour.
Making the bread
I tested out a couple of recipes including the famous Dutch oven bread recipe and a skillet bread recipe before making a version of my own with a crust I could be proud of.
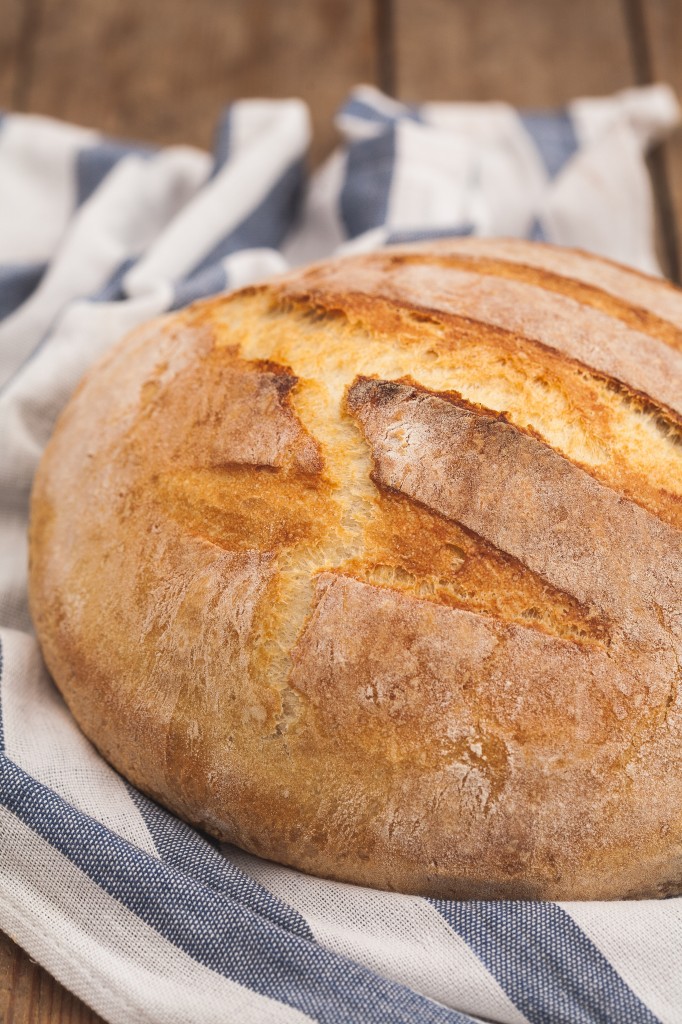
For my version of This is an affiliate link.Dutch oven bread, I’ve combined the two methods to create one all my own. It’s become the bread we go to so often at home because it gives great results in a short amount of time.
I also changed the original recipe by adding more salt and reducing the amount of flour. I also increased the oven temperature from 350F to 500F.
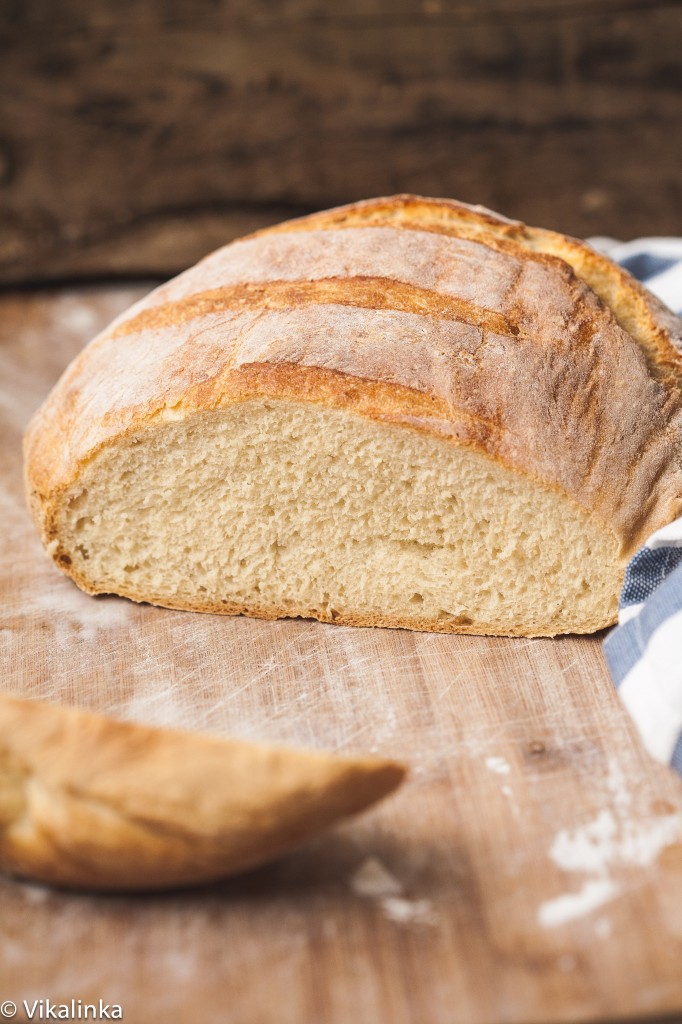
The bread we got as a result of that experiment was mind blowing. I overheard my kids talking later which brought a smile to my face, “That’s the best bread she’s made!”
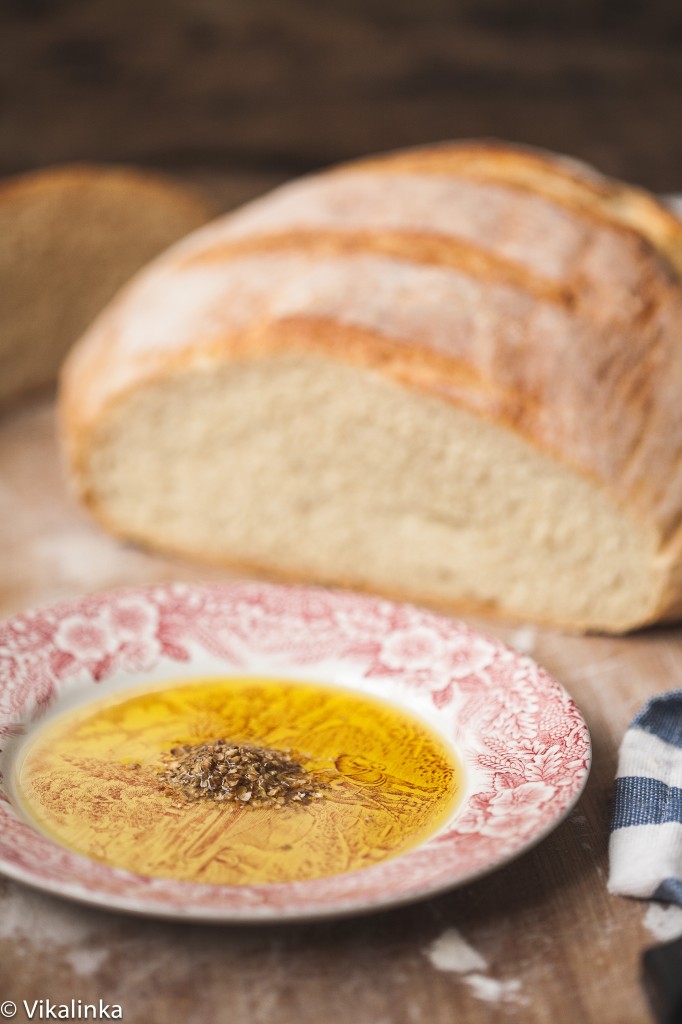
Pillowy soft but quite substantial with a thick crust, just the way… aha aha… I like it! The bread was so delicious I would happily make it my dinner, nothing else required.
Dukkah spice mix
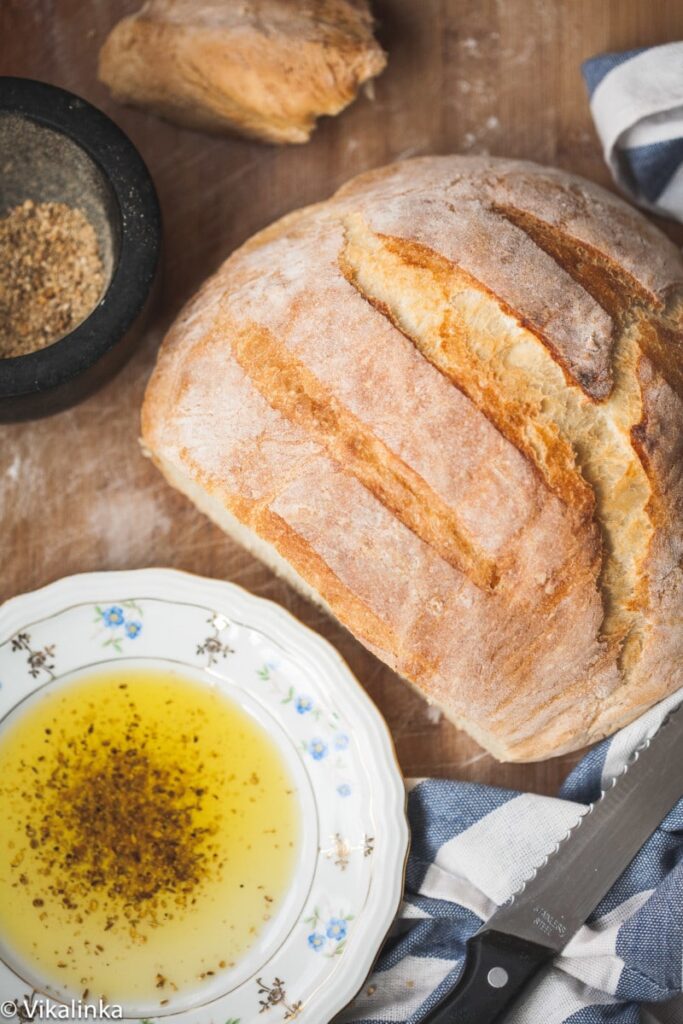
Even so, a good dip is still appreciated. My kids are all about bread and butter. I, on the other hand, love my bread dipped in extra virgin olive oil with a bit of balsamic vinegar.
Or dukkah spice, an aromatic Egyptian side dish consisting of a mixture of herbs, nuts and spices.
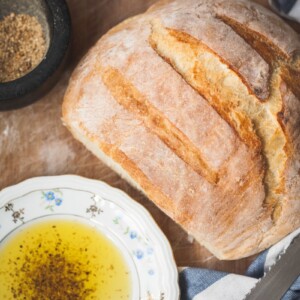
You can buy it in grocery stores like I did but it’s much tastier if you make your own. I used already made mix and wanted to open up the flavours a bit more.
So I put a handful in my mortar and took a pestle to it until I could smell the warm and aromatic mixture filling the room.
The dip is as simple as could be. Just pour some good quality extra virgin olive oil in a small plate, sprinkle with some sea salt and dukkah spice. Then dip and dip and dip some more.
More bread recipes
Dutch Oven Bread
Equipment
- This is an affiliate link.Cast iron Dutch oven
Ingredients
- 1 package/ 7 gr- active dry yeast
- 2 cups/500ml lukewarm water
- 3/4 tbsp sea salt
- 4 cups/480g bread flour I used Canadian flour)
For the dip
- This is an affiliate link.olive oil
- sea salt
- dukkah spice
Instructions
- Mix warm water and yeast in a small bowl. In the bowl of a stand mixer combine flour and salt. Add the water and yeast mixture to the flour and mix until the dough comes together with a hook attachment or by hand. Cover with a tea towel and let it rise for one hour in a warm place.
- After one hour preheat the oven to 500F/260C with the dutch oven, including the lid, in it.
- Remove the dough on a floured surface and shape it into a ball by tucking the corners in like an envelope. Put it on a tea towel (or parchment paper, seen notes) seam side down, sprinkle with more four and cover with another tea towel and let it rise for 30 minutes.
- Take the dutch oven out. It would have been warming in the oven for 30 minutes by then and will be blazing hot. Carefully lift your dough and put it in the dutch oven, cover with the lid and bake for 20 minutes. Take the lid off and bake for additional 10 minutes.
- Let it cool which will also allow the crust to develop. Before serving, pour some olive oil in a shallow plate and sprinkle with some sea salt and dukkah spice.
Notes
- You can place your shaped dough on a piece of parchment paper, then pick it up by the opposite side of the paper and lower it into the Dutch Oven.
- Full disclosure: I don’t use parchment paper and my bread never sticks to the Dutch Oven.
Nutrition
Nutrition information is automatically calculated, so should only be used as an approximation.


Hi
Very nice bread.
Could I ask to get the texture you get, is it due to the 1 hour rise.
I like it not with the big holes as Jim Laley has it.
Thanks
Angela
Hi Angela, yes the texture you see is what you get after letting it rise for an hour. It is a no-knead recipe but it is different from Jim Lahey’s recipe as the dough needs much more yeast to rise so quickly.
I’m doing this right now ! And so far, it’s looking great. :D. Last time I tried the 12-20 hour recipe and the loaf did not last 2 hours! I bet this recipe is equally scrumptious. And this time, I’m aiming for that gorgeous golden crust you show in your picture!
Good stuff, Mafer! Please, let me know how it turns out. I have dough rising at the moment as well. 🙂
Hello again! The bread came out beautifully!! Soft on the inside but with a substantially thick golden crust (just as you said). It smelt and tasted like heaven. Even though I finished this at 1:00 AM. My mother woke up and had a slice, despite the late hours in which we should have been allready sleeping). By the way, I’m also following your Instagram account (mine is: Mi_Bella_Mal_Genio ). Once again, thank you for this great recipe! Greetings from Mexico!
You could brush the outside of the bread with hot water mixed with baking soda and salt (like pretzels are made with) and make it even more golden like pretzel crust I bet!
Hi. I’m just wondering if I did something wrong but my dough is not easy to work with I couldn’t pick it up to put in my pot to save my life lol. Can you do second rise in the Dutch oven? I’ve seen others that do that so I wasn’t sure. Thank you.
Tiphanie, you are supposed to preheat the Dutch oven before you bake the bread in it and that is why it would be problematic to do the second rise in it. Why exactly can’t you pick up your dough? Is it too sticky? You can always do the second rise on a piece of parchment paper, then pick it up by its corners and put it in the Dutch oven. I hope it helps.
Yes it was very sticky so it was hard to form up too. I did use a parchment paper and it worked great. The loaf is signing on my counter now! Can’t wait to taste it.
Awesome, I hope you love it!
I have the same problem… felt way too wet but I kept adding more flour whilst trying to form it… it’s having its second rice on parchment now… wish me luck!!
This looks so wonderful. Can I make it with instant yeast? If so, how would I do it?
Karen, yes you can use instant yeast for this recipe. It will make no difference. Usually it just means that you don’t have to dissolve it in water because it’s so fine but this recipes doesn’t even call for that step anyway.
Love the bread!! My husband ate half of it and said keep making it 🙂 Thank you for the recipe! God bless you.
Sounds like my husband, Lyuda! You are very welcome and thank you for stopping by!
I’m sorry for the typos. Keep cooking not cooling. And I’m trying to rate five stars but it won’t let me.
No problem, Samantha. I got ya. 🙂
This is in the oven now. Im completely new to making bread but really want to get away from conventional sandwich bread. Does this cool in the DO or do I take it out and cool it on a rack? My brain says take it out or it will keep cooling but I’m just not sure.
Definitely take it out or it will “sweat” and dampen your beautiful crust. 🙂
Thank you so much for this recipe! I am new to using a Dutch oven and this was the very first recipe I tried:) it was super easy to make. My family and I enjoyed it along with some hot chili on a rainy day.
This is a great recipe and I’m making my third batch of it in a week! We’ve been eating our with homemade soup 🙂 my question…..I am using a paper towel to coat the inside of my Dutch oven with oil but am still finding that it smokes and burns on the inside to the point where I won’t be using this pot for anything but this bread recipe 😉 are you having the same issue?
Sandy, I am so glad you love the recipe. I had the same issue with my Dutch oven, in fact I had to google to figure out how to clean it afterwards! I also found that I only needed to oil the bottom of the pan.I hope that helps!
I just wanted to thank you for this lovely recipe. I was given a Kitchenaid standup mixer last Sunday and am making my 5th loaf of bread. I love how fast the recipe is and its flexibility. I have taken to adding black pepper or fresh herbs to during the flour stage and cheese (parmesan and cheddar) in the “turn on the oven and tuck the dough under” stage. Everytime the bread has been great and shareable.
So — Thank you so much for sharing! (Seriously, you have made my home and workplace very happy and full people!)
All the best!
So great to hear! I just made a loaf last night as well. I haven’t tried to add any add-ons yet but am looking forward to it now! Thank you so much for your feedback. 🙂