Food Photography is somethingI have been dreaming and wanting to write about for a long time but I never felt like I was ready to broach the subject. After all, 3 years ago when I first started blogging I knew nearly nothing about photography and even less about food photography, so writing about it seemed like I am saying I’ve arrived, which is not at all how I feel. However, I’ve learned a few things along the way and am bursting to share them!
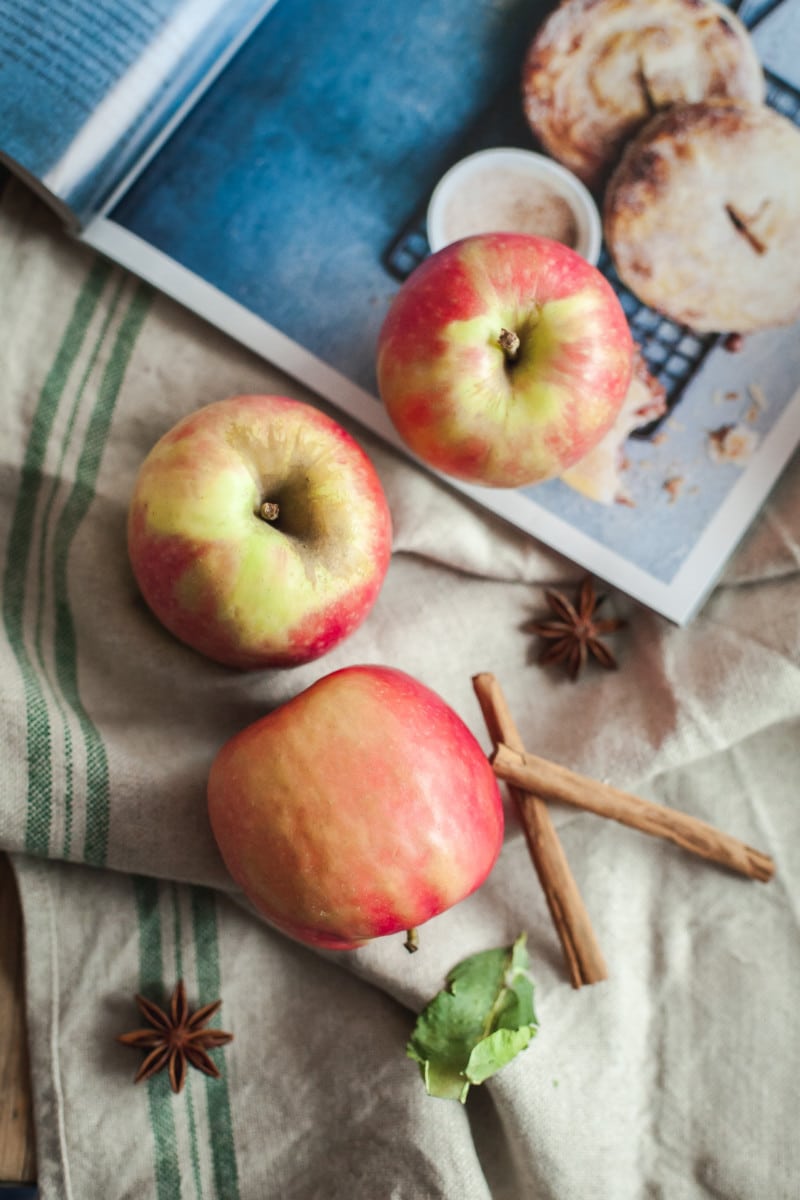
A couple of weeks ago my friend Lucy from Supergolden Bakes and I went to a food photography masterclass hosted by Pink Lady Apples. I love anything photography related, so I enthusiastically lugged all my gear including my tripod to central London with no regrets…well tripod might have been an overkill but that is what passionate people do!
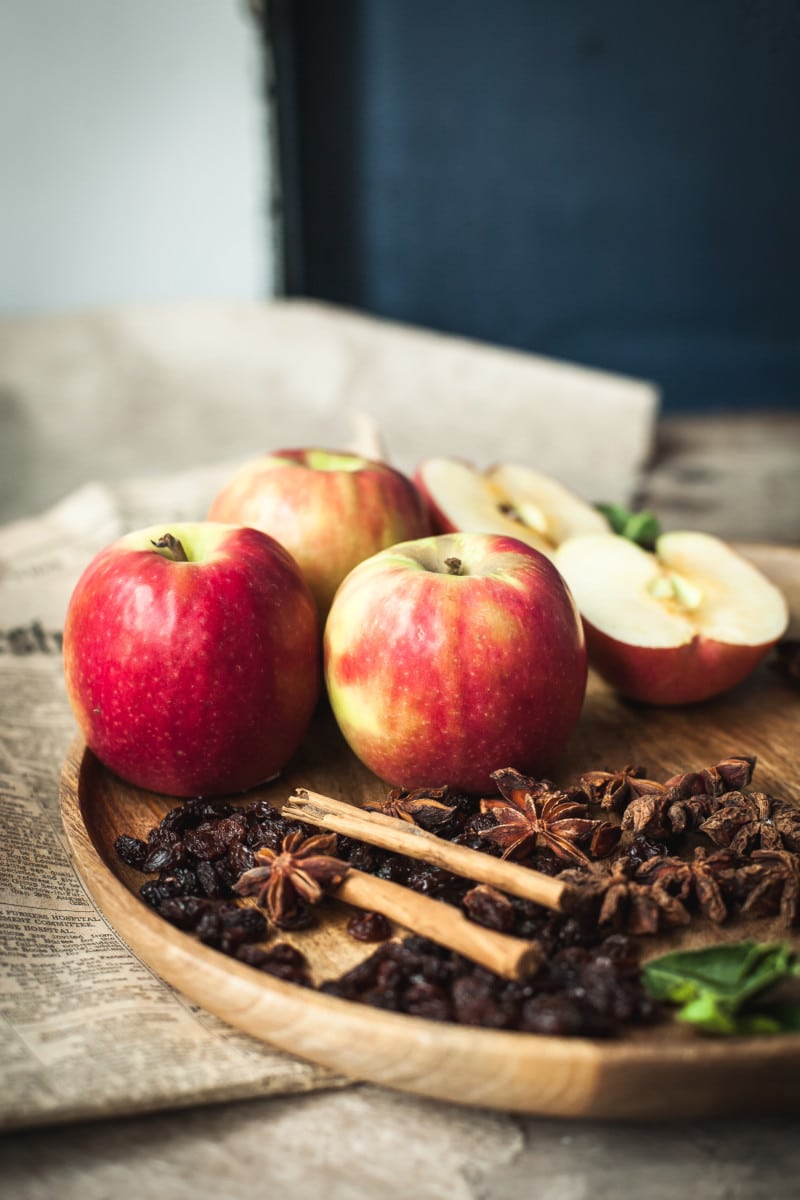
The workshop itself was a morning spent immersed into food photography and styling as well as meeting many lifestyle bloggers, who wanted to learned how to take better food photos. For many of them Instagram is their main means of communication so learning to style a great shot is what they were after. It’s always refreshing and inspiring to be with likeminded people, discuss things we love and shoot some pretty Pink Lady apples. Aren’t they gorgeous!
As I was listening to the presenter sharing her tips and her gorgeous photos I finally thought that I could do it. I’ve learned a few things in my 3 year blogging journey, which could be of use to some of you. Thank you, Aspire Photography for giving me this boost of confidence!
So here is my take on Food Photography:
1. Natural light
If you are a beginner always shoot in natural light. Although most of commercial food photography is done with artificial lighting I wouldn’t recommend starting there for a few reasons.
a. You need to understand light to be able to manipulate it in the way that highlights the best parts of your photo and natural light is your best friend here.
b. Artificial lighting that comes from your light fixtures will tint your food that awful yellow colour and will make it look very unappetising. I think we’ve all see shots like that on Facebook and Twitter.
c. Professional artificial lighting is difficult to work with if you haven’t mastered natural lighting. It is also expensive.
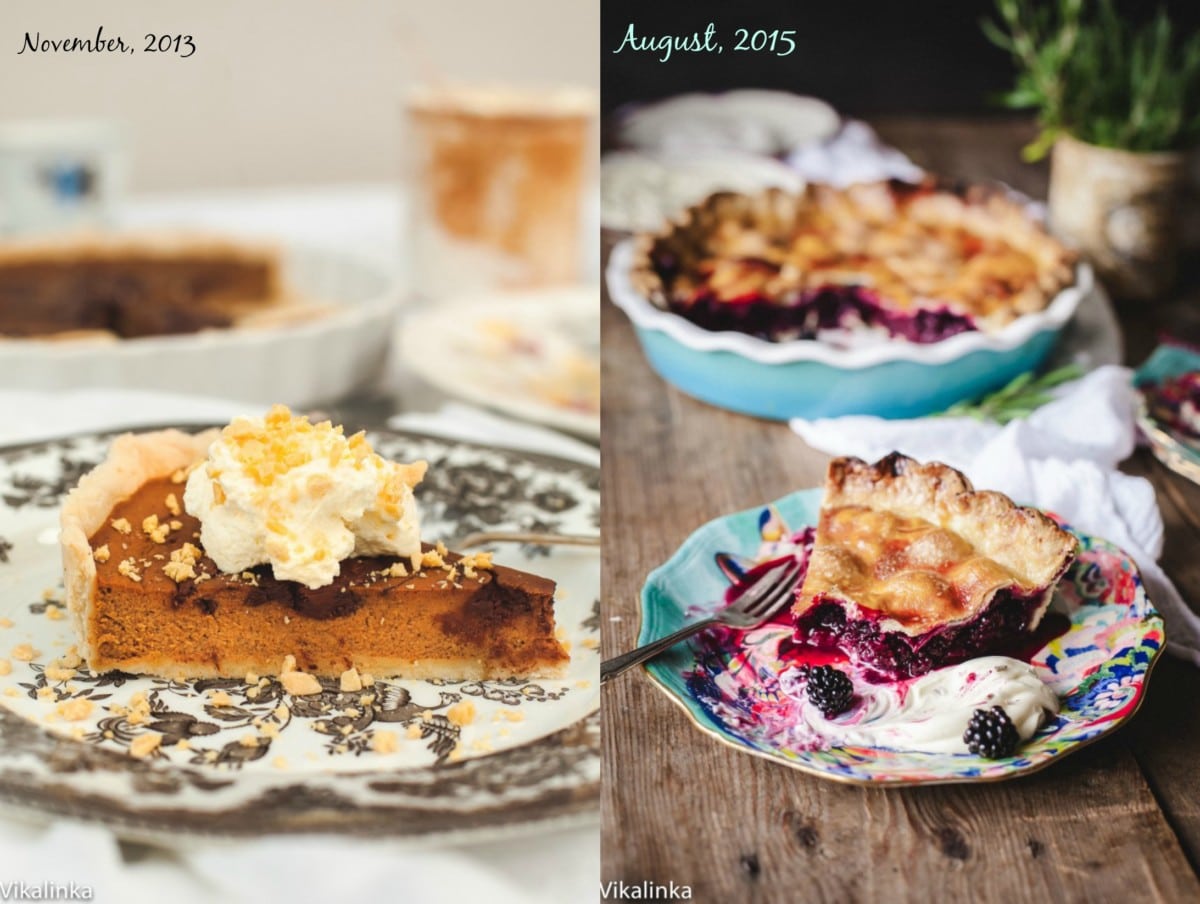
More light is not always better. I used to think I didn’t have enough light and moved my photo set into my glass conservatory. Big mistake! Taking a great photo that tells a story is all about combining light and shadows. Your ideal setting is by a north facing window with gentle light streaming in. Harsh light is extremely unflattering, so avoid direct sunlight at all costs.
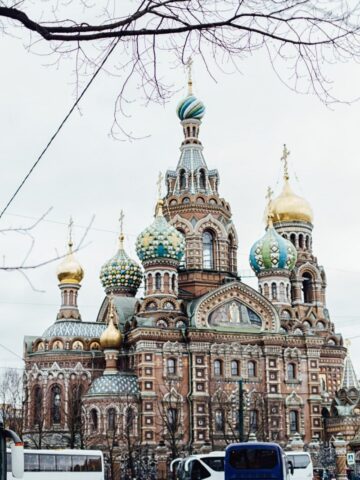
Below are two photos taken 2 years apart. The first one is taken in my conservatory and the second one is in my living room. Which one do you prefer?
I literally cringe every time I see my old photos and as much as I want to re-shoot them all I’ve decided to keep some of them as a reminder of where I came from and hopefully, it will be an encouragement to you! “The only photographer you should compare yourself to is the one you used to be.” Someone shared this bit of wisdom with me one day and it liberated me from the feeling of constant dissatisfaction with my own work in comparison to photographers I admire.
2. Angles
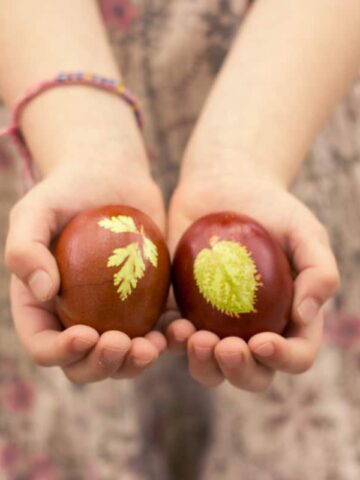
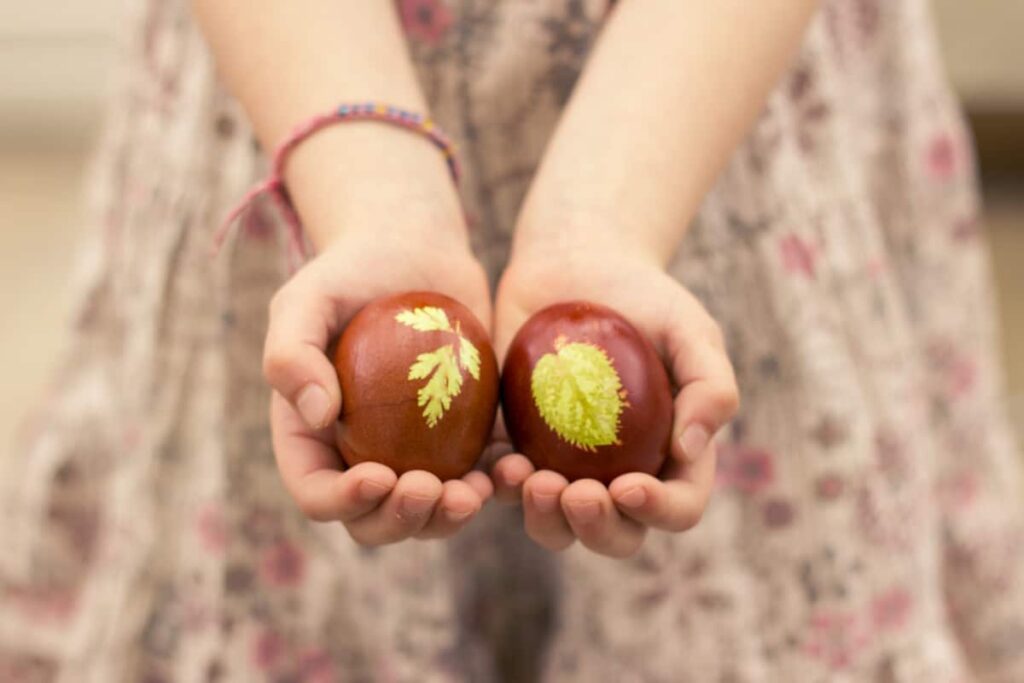
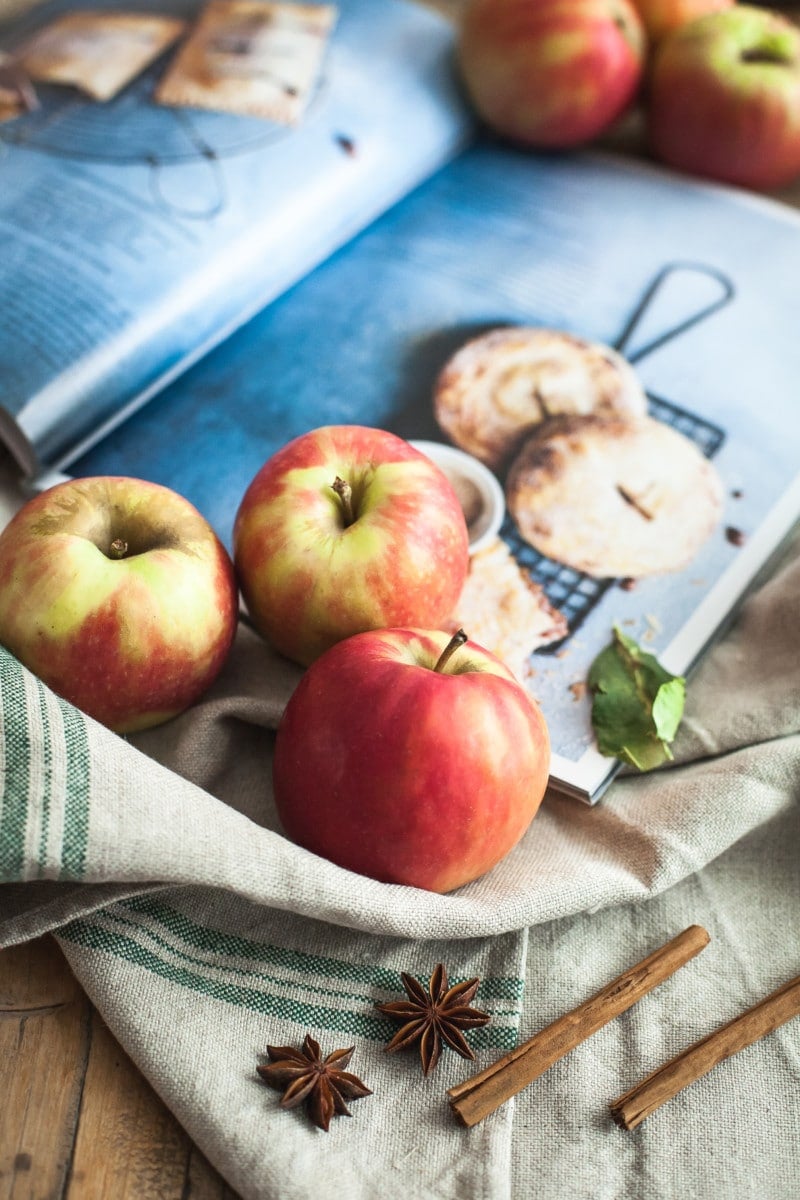
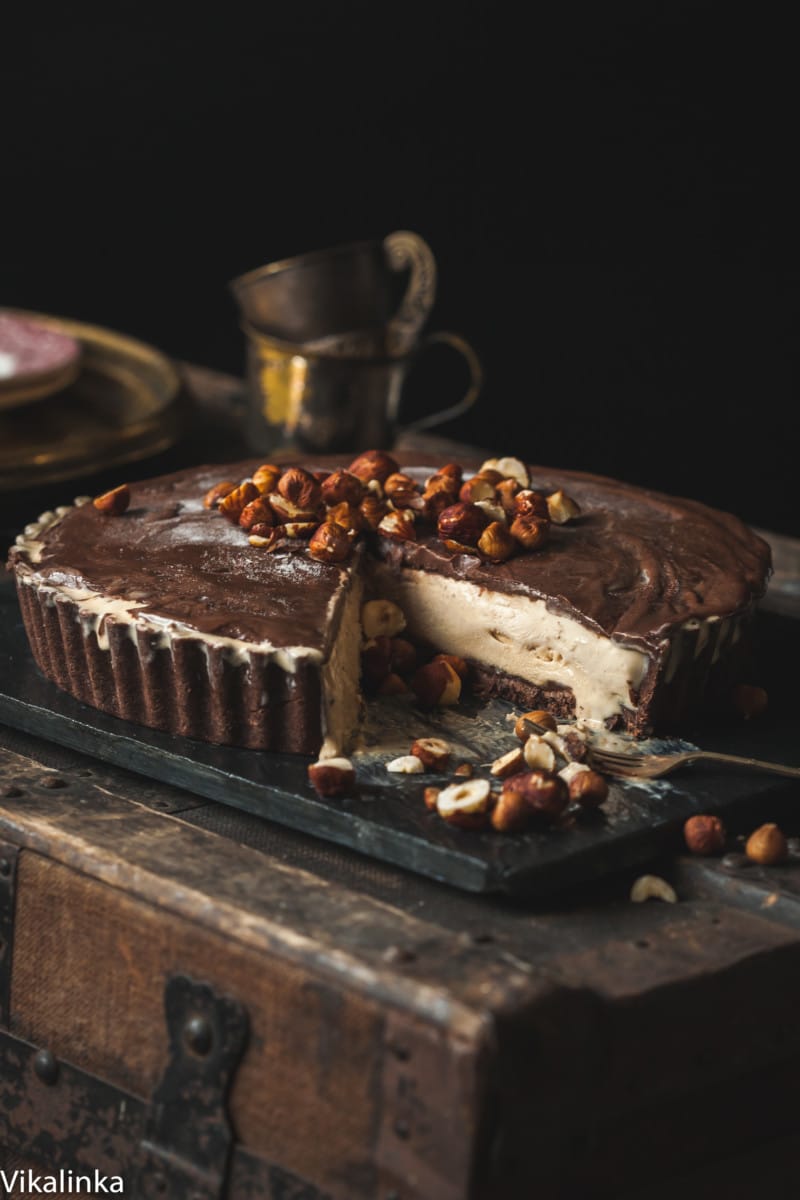
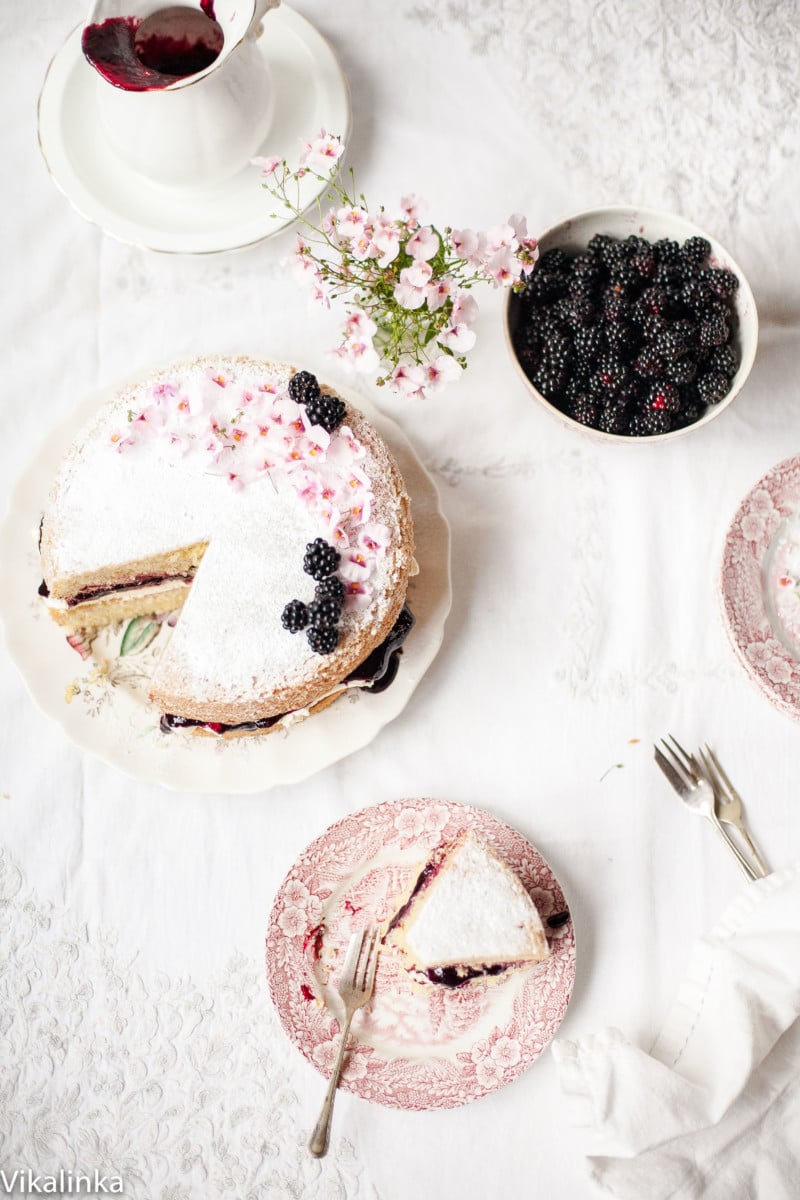
What often sets an experienced food photographer apart from a newbie is angles at which photos are shot as beginners tend to photograph their subjects at quite awkward angles. The best angles for food are a side view as if you are looking at a plate at an eye level (first photo in this post) , ¾ view (second photo in the post) and an overhead shot below. I love overhead shots and probably use them too much in my food photography but we all have our weaknesses. 🙂
3. Props {Textures and Colours}
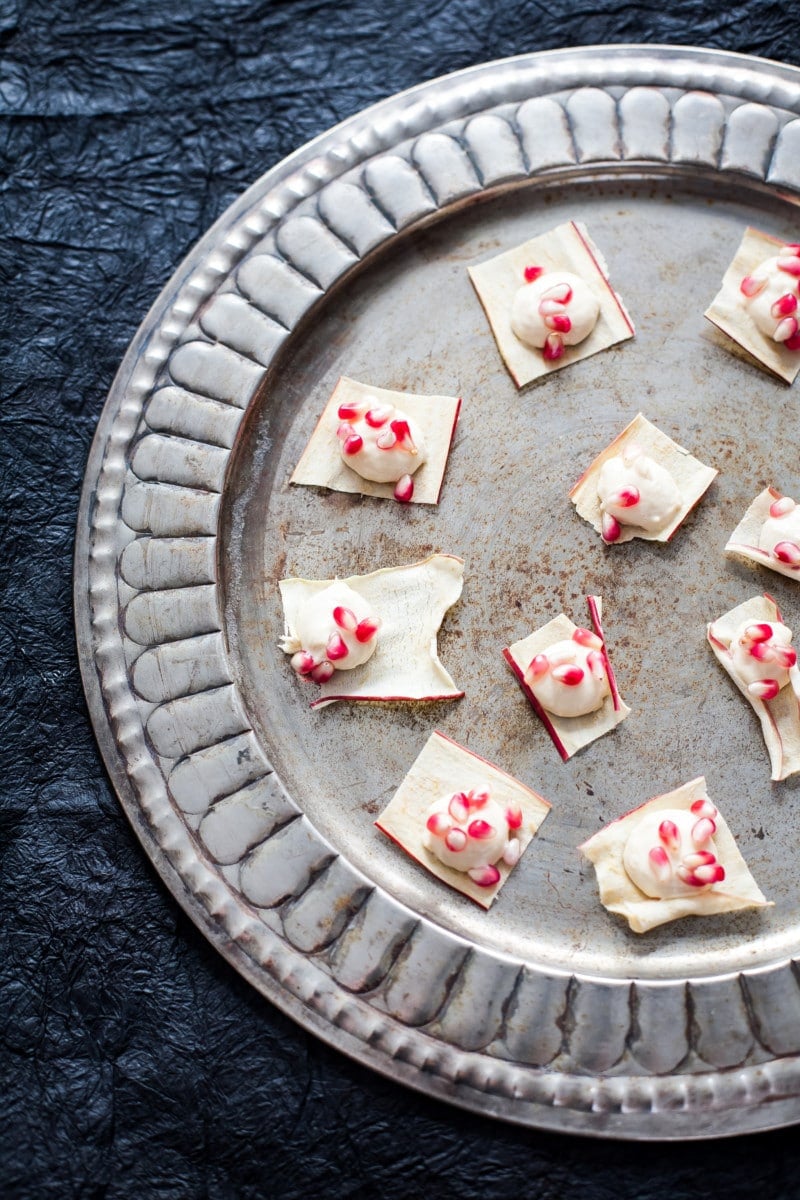
Remember it is much easier to take beautiful photos of a beautiful scene. Consider colours and textures that will compliment and highlight your subject like that textured background that sets off pomegranate seeds in the most appealing way. That gorgeous background is paper and costs almost nothing!
Food photography is an expensive business. Apart from a pricy camera and lenses a multitude of props are necessary to style a beautiful shot. If you are just starting out do not despair! Charity shops is my main source of props although I know many bloggers who buy on eBay and do really well for themselves. No need to spend a fortune, collect things gradually as you need them meanwhile focus on perfecting the technical side of things.
4. Razor Sharp Photos

Capturing razor sharp images is perhaps something I should’ve brought up earlier as it is the essence of good photography. The perception is that you need a very expensive camera to do that. The reality however is entirely different. Your camera is a tool and if you shake it while taking photos it will produce blurry images. It is as simple as that! All you need in order to take sharp photos is a correct focus and a steady hand or better yet a tripod and a remote control.
5. Learn your camera settings.
I know it seems like a daunting task to learn your camera settings but ISO, Aperture and Shutter Speed are the holy trinity of all things photography, and although it is absolutely fine to start shooting on an automatic setting while you are learning focus, styling and composition, eventually you will want to have more control over your creative process and that is when your manual setting comes in.
Understanding your camera allows you to take very dark and moody shots one day…
Then change it up and go with bright and airy the next one…
Zero in on a beautiful subject by controlling your depth of field…
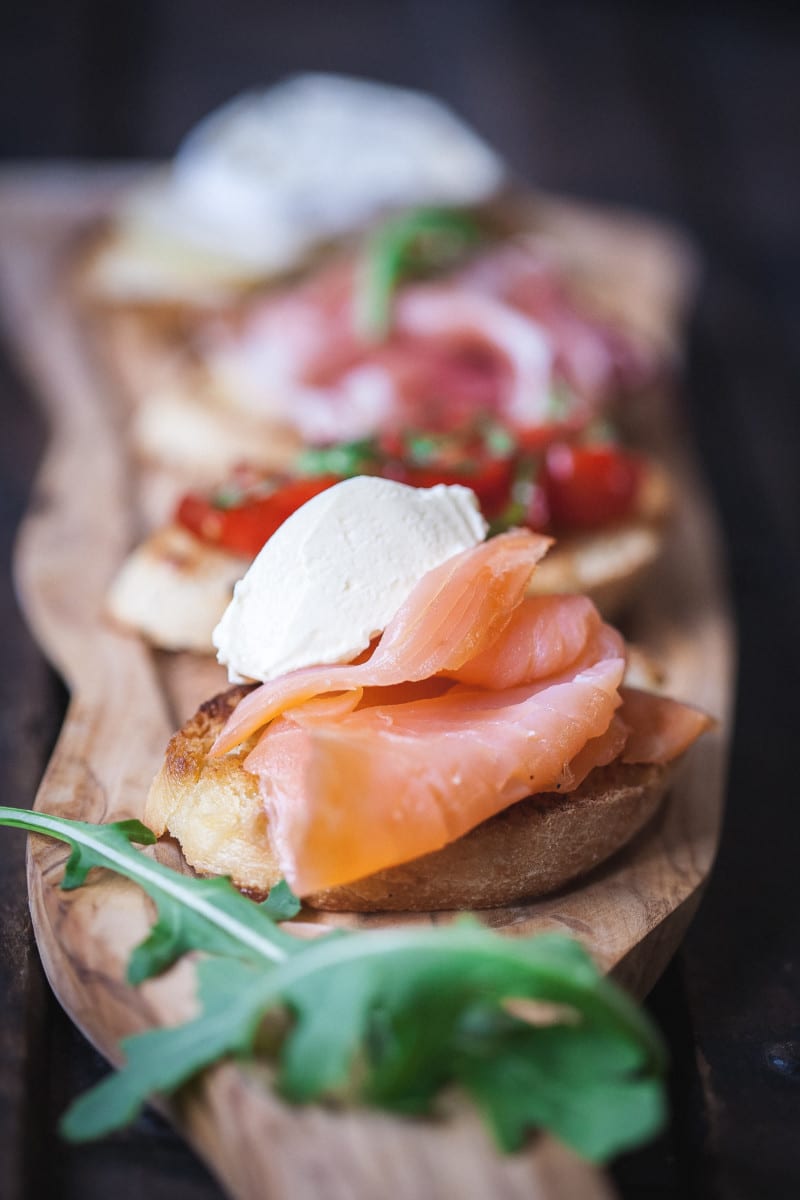
or capture the whole scene keeping all in focus.

Knowledge is power, which gives freedom to be creative and being able express your mental concept visually!
6. Further growth and development.
a. Study photographers you admire, read, ask questions and practice.
b. Create a Pinterest Photography Inspiration Board or follow mine, shadow a professional photographer for a day and practice, practice!
c. Finally, sign up for a food photography workshop, meet people who share your passion and exchange valuable information and tips, and practice, practice, practice!!!
I realise that I could go on and on when it comes to photography. I didn’t even get to the nitty gritty of it, i.e. how set up a perfect shot and control your camera settings, but sadly I can’t do it all in one post. In fact, I can’t describe it in a post at all, some things have to be felt and experienced to be learned. That is why I am extremely excited to announce that a Practical Photography Workshop in collaboration with Lucy Parissi is in the works. We are talking and planning and would love to hear your thoughts!! Please comment below and message me if you are interested!! I hope this post was helpful.
Cheers,
~Julia